
Image: Shutterstock

Tips for organizing science activities with preschoolers
Preschoolers are full of energy and imagination. They love trying new things and are curious about every little thing around them. Introducing science experiments to preschoolers is a fun way to expose them to the wonders of science. The subject is best taught through practical knowledge, and engaging them in fun activities can make them learn quicker. Read this post as we have compiled some amazing science experiments that preschoolers may enjoy and learn from. Tips For Organizing Science Activities With Preschoolers
1. Rising water
You will need:
- Glass or steel plate
- Glass tumbler
- Water
- Food color
- Candle
How to:
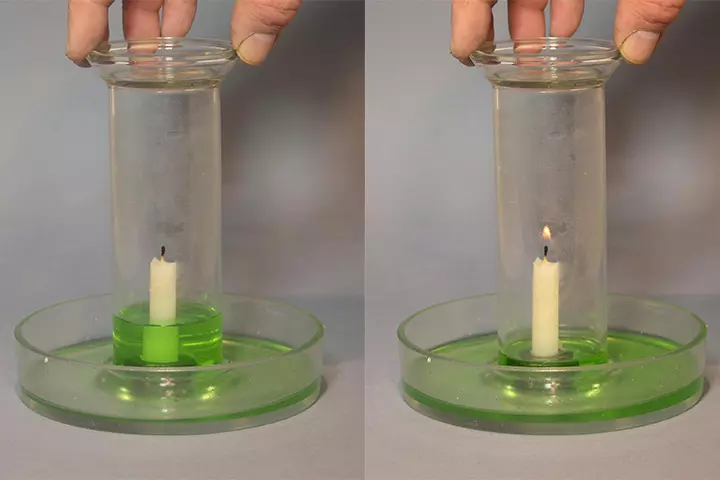
- Fix the candle firmly at the center of the plate. Fill the plate, up to about half-an-inch, with water and add the food color.
- Light the candle, let it burn for a few seconds, and then place the glass tumbler over it, such that the tumbler covers the candle and puts off the flame after a while.
- Soon, you will notice the water level rise inside the tumbler. The food color in the water will make it evident.
Explanation:
The heat from the flame expands the air inside the tumbler. When the candle uses up the oxygen, and the flame goes out after the oxygen is depleted, the air volume goes down. It creates a low-pressure inside the glass and high pressure outside. It thus causes the water to rise within the tumbler (1).
2. Tin can telephone
You will need:
- Two paper cups
- A piercing tool
- Long woolen or fabric string, about four to five feet long
How to:
- Pierce a hole right at the center of the base of each paper cup.
- Pass the string through the holes of the cups and tie a knot so that string does not come out.
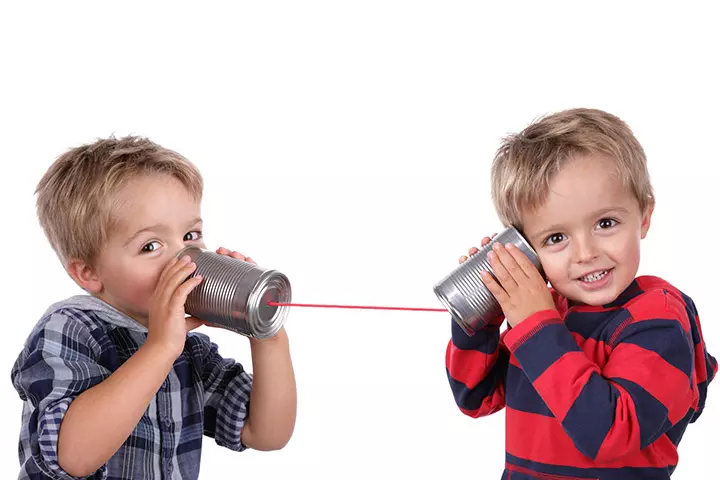
- Let the preschooler stand at a distance with one of the cups, and you stand at a distance with another cup, such that the string gets taut.
- Ask the preschooler to hold the cup to their ear, and you speak softly into the cup that you are holding. The preschooler will hear you even if you whisper in the talking cup.
Explanation:
Sound requires a medium to travel. When you talk into a cup, the air within transmits the sound to the base of the cup that vibrates. The vibrating base sends the sound waves across the tight string to the base of another cup, causing its base to vibrate. The air within the cup carries that sound to the ears of the listener, enabling them to hear what you say (2).
3. Baking soda volcano
You will need:
- Plastic bottle
- Baking tray
- Yellow and orange chart paper
- Playing clay
- Plain white paper
- Watercolors and coloring brush
- Glue
- Dishwashing liquid detergent
- Red food coloring
- Baking soda
- Vinegar
- Lukewarm water
How to:
- Stick the plastic bottle at the center of the baking tray.
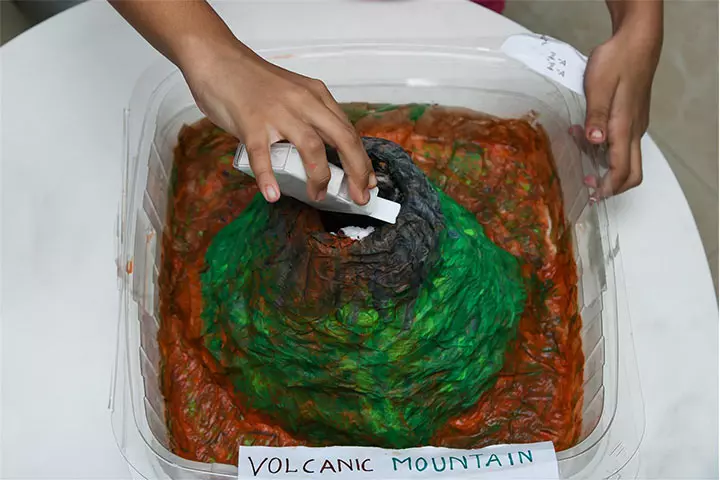
- Take the colored clay and sculpt a volcano-like mountain around the bottle, with the mouth of the bottle as the opening of the volcano.
- You can cover the clay with plain white paper and paint the paper to add more character.
- Alternatively, you can also use long strings of orange and yellow chart paper. Stick one end of the paper to the mouth of the bottle and another at the base. Keep alternating with orange and yellow paper to create a conical shape resembling a mountain with the bottle at its center.
- Fill half of the bottle with lukewarm water, add two drops of food coloring, and six drops of dishwashing liquid. Stir and mix it well.
- Add two tablespoons of baking soda to the liquid and stir it well.
- Take vinegar in a pouring vessel and pour it slowly into the bottle. Keep pouring until you see a sprout of froth erupting from the mouth of the bottle.
Explanation:
Vinegar is acidic while baking soda is a base. When the two react, there is an acid-base reaction, which causes the rapid formation of carbon dioxide, which comes out as froth during the eruption of the volcano (3).
4. Home-made lava lamp
You will need:
- Plastic bottle
- Vegetable oil
- Baking soda
- Vinegar
- Food color
How to:
- Pour four tablespoons of baking soda into the empty bottle.
- Fill about a third of the bottle with vegetable oil.
- In a pouring vessel, pour some vinegar and add food coloring of your choice.
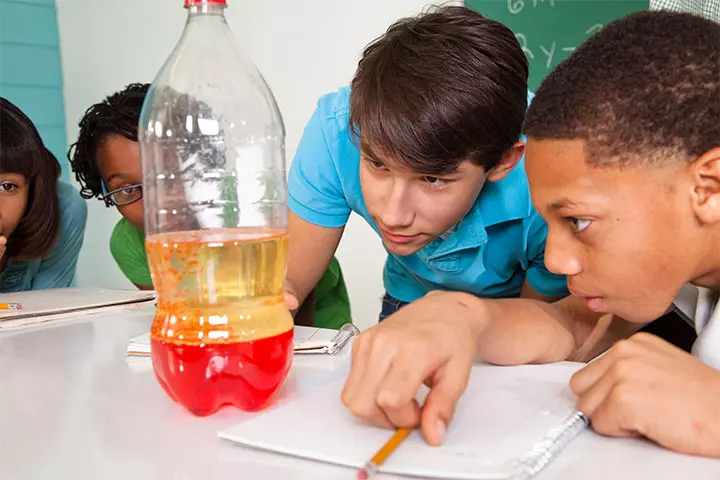
- Now slowly pour the vinegar into the bottle with baking soda and oil. The vinegar goes to the bottom of the bottle, reacts with the baking soda, and causes bubbles to rise and fall through the oil thus creating the lava lamp effect.
Explanation:
Baking soda and vinegar do not mix with oil. They settle at the bottom of the bottle and react with each other, forming carbon dioxide bubbles that rise to the top of the bottle.
5. Traveling water experiment
You will need:
- Paper towels
- Scissors
- Several food colors
- Small plastic or glass jars
How to:
- Cut the paper towels into small strips of about five centimeters in breadth. They should be long enough to go nearly to the bottom of the small container.
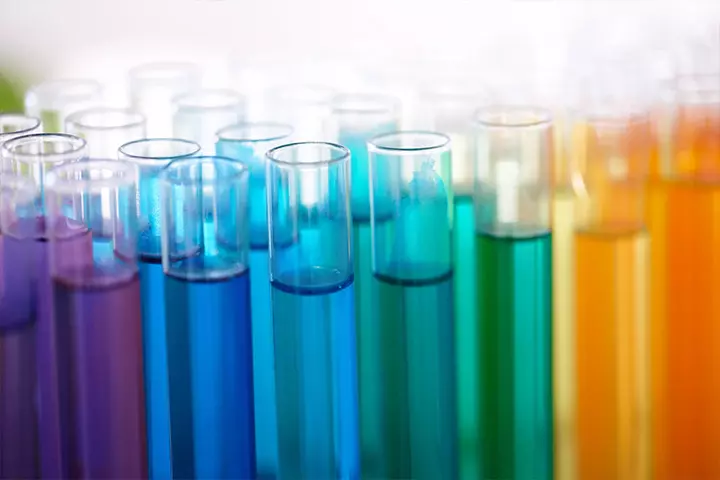
- Put two to three drops of different food color in each of the water containers and stir it well.
- Place an empty cup in between the two colored cups.
- Place the ends of the paper towel strips starting from the colored into the middle empty cup.
- Leave the cups undisturbed and return after a couple of hours. You will notice the middle cup is now full of colored water. The color will be a mix of the liquid in the two main colored cups.
Explanation:
Water absorbs and rises in a paper towel through a physical process called capillary tube action. It involves the complex interplay of several forces, which causes the water to form intermolecular bonding with the paper molecules and eventually rise against gravity (4). It is this property that allows paper towels to absorb water and absorbent clothes to absorb sweat from the body.
6. Bottle inflated balloon
You will need:
- Soda/Plain carbonated water
- Balloon
How to:
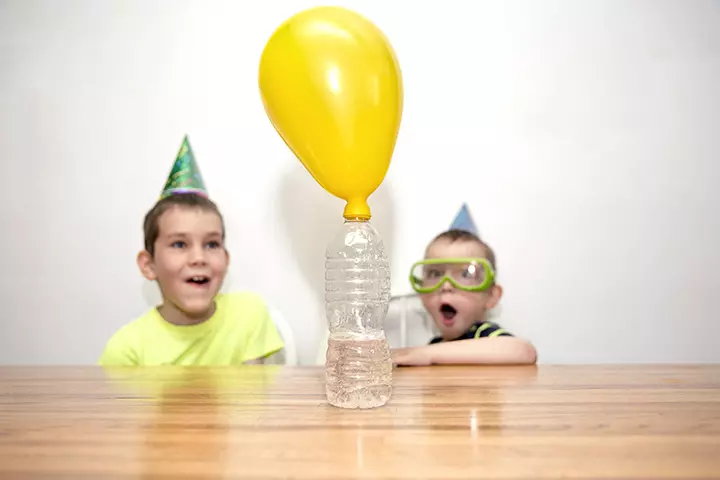
- Take a deflated balloon and attach it to the mouth of a freshly opened soda bottle.
- Leave the bottle like that for a few minutes, without shaking it. The balloon starts to inflate and stand on the mouth of the bottle.
- Once the balloon inflates, you can give the bottle a slight shake, which will cause the balloon to inflate a bit more quickly
Explanation:
Fizzy soda beverages contain dissolved carbon dioxide. When you take the lid off a bottle of soda or carbonated beverage, you release the pressure, causing the carbon dioxide to turn into the gas and escape (5). Shaking the liquid leads to releasing more gas, which inflates the balloon further.
7. Musical water
You will need:
- Glass tumblers
- Water
- Metal spoon
How to:
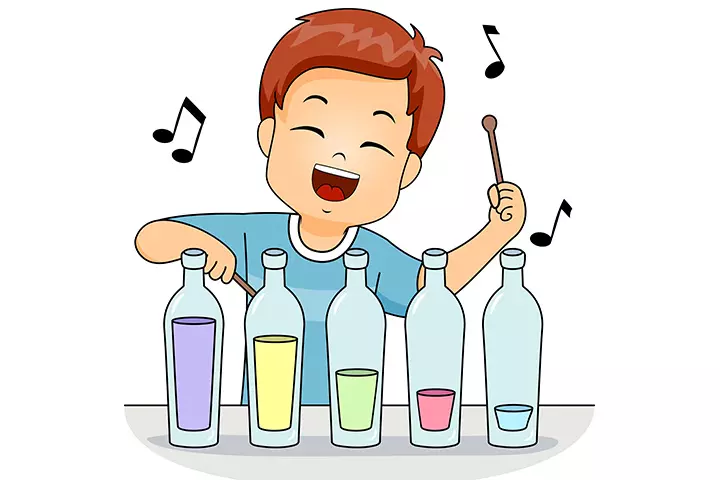
- Fill the glass tumblers with water at different levels.
- Let the preschooler hit each glass and listen to the sound.
- Each glass will make a sound at a different note, which allows you to make music by gently hitting the glasses with the spoon, each time in a different order.
Explanation:
This experiment relies on vibration and resonance to create different sounds. A glass with more water will make less vibration because the water absorbs some energy from the tap of the spoon. Conversely, the glass with less water has lesser liquid to absorb energy. (6). It eventually allows you to make different sounds from each glass.
8. Liquid layers
You will need:
- Corn syrup
- Water
- Vegetable oil
- Water bottle
- Food coloring
How to:
- Pour vegetable oil, corn syrup, and water in a separate bowl each. Add a couple of drops different food coloring to it and mix it well.
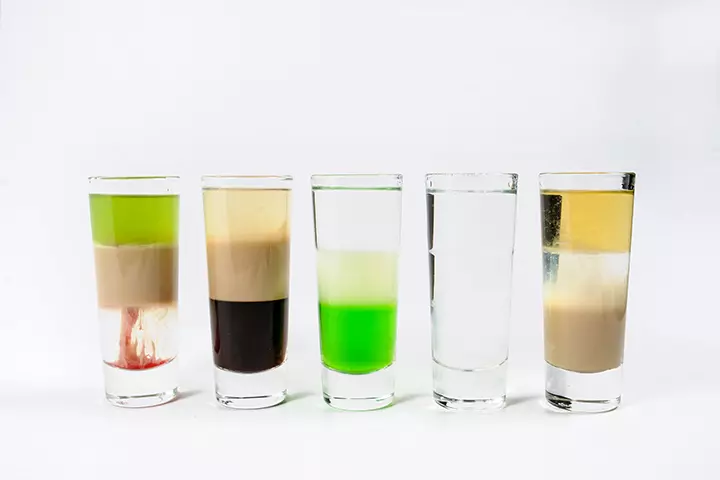
- Pour the corn syrup into the water bottle, followed by the water, and then the vegetable oil. Keep the quantities of the liquids equal so that each takes on a third of the bottle’s volume.
- The liquids may seem to mix but eventually will settle in different layers. The syrup is the densest and will settle at the bottom, followed by water, and the vegetable oil on top.
- You can try this experiment with different liquids of your choice such as dishwasher liquid, honey, glycerin, etc. to see where each liquid settles in the bottle and if two liquids mix or not.
Explanation:
The density of the liquid determines where it settles in a container. Corn syrup is the densest and will settle at the bottom while the vegetable oil has the least density, which makes it float at the top. The density of water lies somewhere between the oil and the corn syrup, and thus it will stay in between (7).
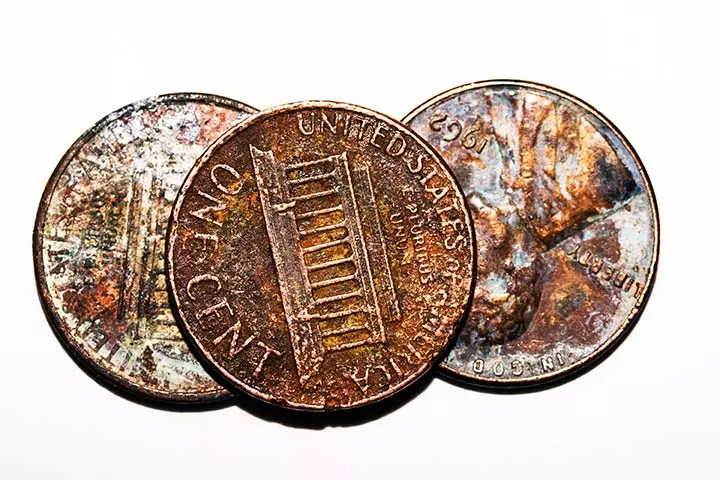
9. Shining copper coins
You will need:
- Old, stained copper coins
- Table salt
- A large bowl
- Vinegar
- Toothbrush
How to:
- Mix 1/4 cup vinegar and a teaspoon salt into a bowl and then place the coins in it.
- Leave the coins for a minute. Remove some of them and scrub them with a toothbrush under running water. The coins will shine as good as new.
- Leave another batch of coins to dry without scrubbing them under cold water. They will turn bluish-green after a few minutes.
Explanation:
The green stain on the copper coins occurs when a layer of copper oxide forms on top of each coin. The acidic vinegar dissolves this layer of copper oxide thus leaving them shining. However, if you do not rinse the vinegar away, the copper atoms on the coin will quickly bind with the oxygen atoms in the air and chlorine from salt to form a bluish-green compound (8).
10. Miniature ice road
You will need:
- A large metal baking tray
- Water
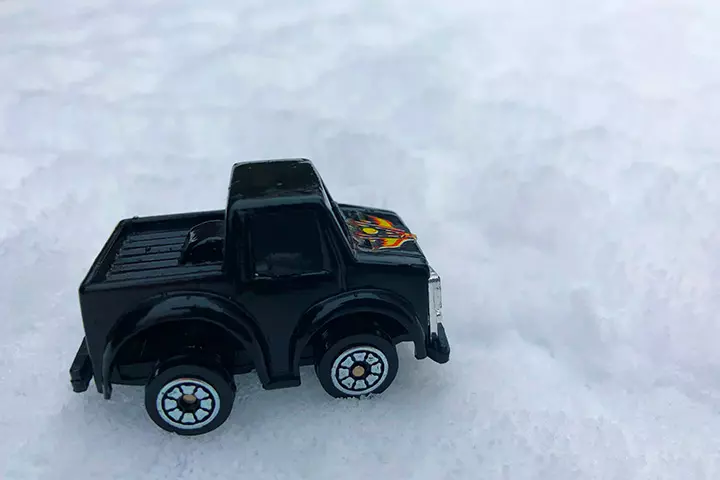
- Toy truck or car
How to:
- Pour water in the baking tray and freeze it.
- Take the ice tray out and ask the preschooler to move the toy car through the solid block of ice. The toy car will slip without a grip.
- Now sprinkle salt all over the ice and move the toy. You will realize that the car runs better now and with more traction. This is due to a thin layer of water over the ice that helps the wheels of the car grip better.
- Sprinkle even more salt, and the top layer of ice melts causing a thin layer of water on the top, which causes the car to slide over the water.
Explanation:
The freezing point of water is 0 °C. Adding salt brings down the freezing point of water to below 0 °C because salt acts as an impurity. So adding salt melts ice, which cannot retain its solid form above freezing temperatures (9).
11. Water fountain
You will need:
- Tack adhesive
- Empty plastic bottle
- Straw, bent at the top
- Balloon
- Water
- Food coloring
How to:
- Pierce a hole at the middle of the bottle, with the diameter big enough to firmly allow the straw into it.
- Once the straw is inside, seal the sides of the opening with tack adhesive so that it is watertight. Allow the tack a few minutes to settle.
- Add some food coloring to the water. Pour the water into the bottle, until the water level is above the straw’s end. Also, keep the straw pointing upwards so that the water does not flow out from it.
- Inflate a balloon and carefully wrap the mouth of the balloon around the opening of the bottle, without letting out a lot of air from the balloon.
- The moment you put the balloon, water will start sprouting out of the straw even if the straw points upwards. The water will continue flowing outwards till it goes below the point of straw’s entry.
Explanation:
The water flows out due to the extra air pressure exerted by the air inside the balloon. When you do not have the balloon, the air circulates freely through the mouth of the bottle. Even if you cap the bottle, the air pressure within the bottle remains constant. But adding a balloon introduces more air than the volume of the bottle. It creates pressure inside, which pushes the water out from the straw.
12. Categorizing animals
You will need:
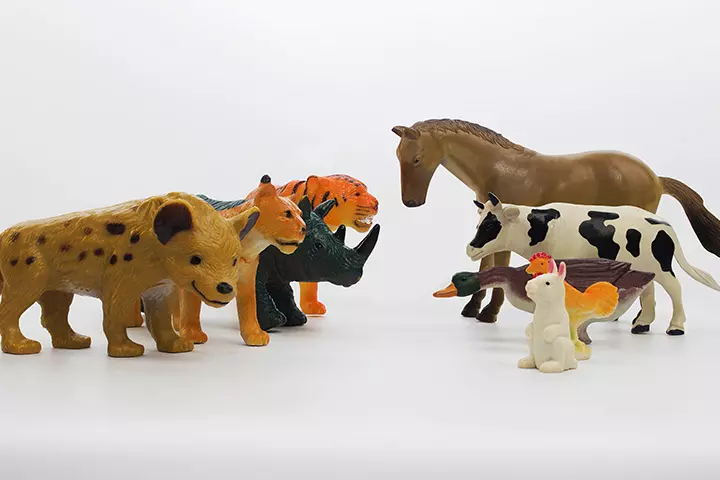
- Several tiny animal toys
- Paper plates
- Water paints
- Paintbrush
- Glue
How to:
- Create different categories of animals such as birds, reptiles, mammals and so on.
- Divide the plate into three or more zones in the shape of a pie. You can make as many zones as many toy animals you have or make more zones on other plates.
- Then, assign a color chosen by the preschooler to each category and paint the zones accordingly.
- Label each zone and let the toddler sort the animals accordingly. Explain which animal falls into each category and how to differentiate them.
- Stick the animals with glue to their respective zones within the plate to complete the activity.
Explanation:
Animals are assigned different genus or species. We use this basic classification in this science experiment for preschoolers to put different animals in various categories. It is an excellent way to introduce your preschooler to the classification in the animal kingdom.
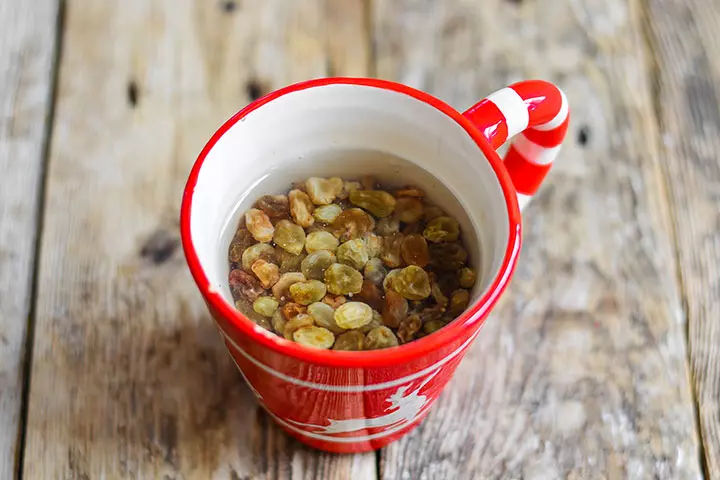
13. The dancing raisins
You will need:
- A handful of raisins
- A glass
- Baking soda
- Vinegar
- Spoon
- Warm water
How to:
- Fill the glass half full with warm water. Add two teaspoons of baking soda and mix the water well with the spoon.
- Add some raisins to the water. They will sink to the bottom.
- Pour vinegar into the glass such that the tumbler is three-fourths full.
- Wait for a minute, and you will soon notice the raisins rising and falling, up and down through the water.
Explanation:
A mixture of vinegar and baking soda leads to the formation of carbon dioxide. The gas gets trapped between the rough skin of the raisins and forms bubbles, which increases the buoyancy of the raisin and makes them lighter. It causes the raisins to rise to the top of the glass. Here, the carbon dioxide bubbles burst, releasing the gas and making the raisin heavier again, which causes them to sink (10).
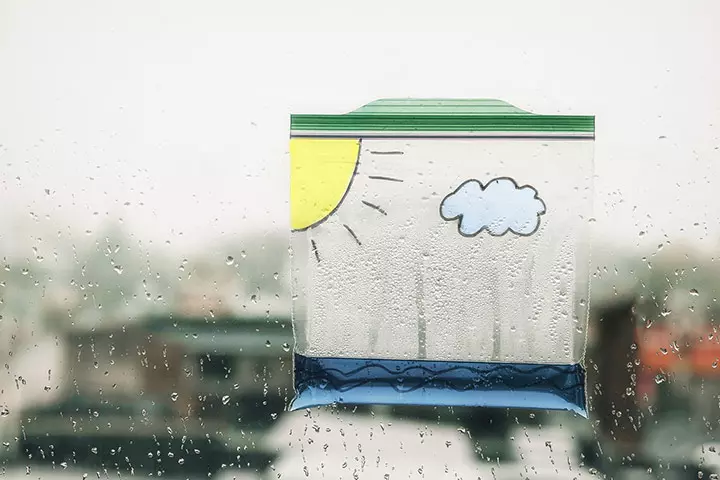
14. Water cycle
You will need:
- Sealable plastic bag
- Water
- Food color
How to:
- Add food color to the water and fill half of the plastic bag with the colored water. Seal the bag. Make sure it is airtight.
- Leave the plastic bag in direct sunlight for the entire day. Keep the bag straight.
- Pick the bag in the evening and make sure you keep the vertical alignment. When you observe, you will see tiny droplets at its top. It is due to evaporation of water due to sunlight.
- Place the plastic bag in the refrigerator, not freezer, and the droplets will disappear after some minutes.
Explanation:
Water turns into vapor when exposed to sunlight. A few droplets of water vapor condense on the sides of the bag. When you place the bag inside the refrigerator, the water vapor condenses entirely and settles into the pool of water in the bag, thus causing the tiny droplets to disappear.
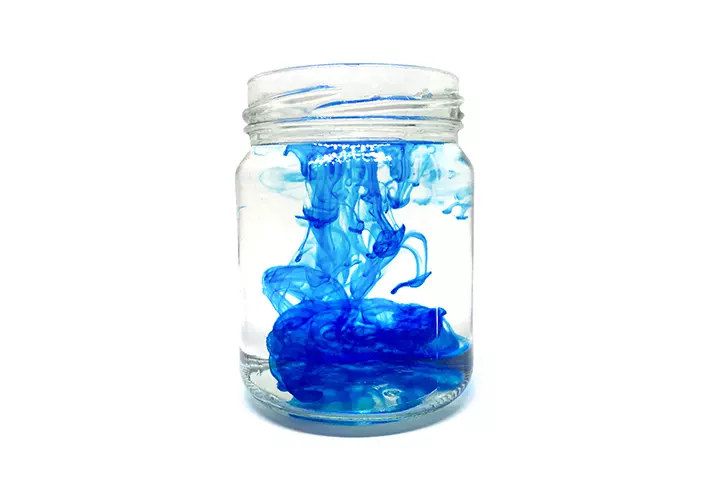
15. Tornado in a jar
You will need:
- Glass jar with a lid
- Water
- Vinegar
- Clear dishwasher liquid
- A pinch of glitter
How to:
- Fill three-fourths of the jar with water. Add one teaspoon of vinegar and one teaspoon of dishwasher liquid to it and mix them well. Add a pinch of glitter.
- Close the lid of the jar. Now turn the jar in one direction quickly to make the water swirl. To make it go faster, you can twist the jar again.
- You will observe the water forming a tornado-like pattern with the vortex right at the center.
Explanation:
When you rotate the jar it causes the water inside to rotate too. However, the water inside will continue to rotate due to inertia, even after the jar is held still (11). The water rotates as a twister with a center due to centripetal force. The addition of vinegar and glitter makes this vortex clearly visible.
While these science experiments are simple and easy to understand, following a few simple tips makes them all the more effective.
Tips For Performing Science Activities With Preschoolers
- Supervise: Science activities involve the use of sharp tools that should not be handled by a toddler. So, always be a part of these science experiments for the safety of the child.
- Explain: Always tell your preschooler what the experiment is about before you start the activity, while you are doing the activity, and after the activity. It will help the little one understand the science behind the experiment.
- Prepare: Some science experiments for preschoolers can cause a mess. Therefore, prepare for it accordingly. Spread old newspapers and conduct the experiments in a tub if there is going to be spillage.
Performing science experiments with children helps them develop an interest in the subject and keeps them occupied. This list of science experiments for preschoolers will help your child understand the basic concepts of science better and have a lot of fun while doing them. However, it is advised to supervise them while performing these activities to prevent any mishaps. Also, explain the concepts behind the activities to help them understand better. Don’t worry too much about the mess caused, and encourage them to enjoy themselves as they learn.
References
1. O Knill; Water-Candle Experiment – Getting The Facts Right; Harvard (2006)
2. The Science of Telephones; Virginia State University
3. Why do baking soda and vinegar react to each other?; National Science Foundation and UCSB
4. A Peiris, B Stein; Capillary Action; UC Davis
5. B Durham; What Causes Soda Pop to Fizz? And Why Does it Lose its Fizz?; University of Arkansas (2011)
6. Music Water Glasses; Scifun, University of Wisconsin–Madison
7. L Guare; Layers of Liquid; Elmhurst College (1998)
8. Copper Caper – Watch old pennies turn bright and shiny; Exploratorium
9. F Senese; Why does salt melt ice?; General Chemistry Online! (2010)
10. Dancing Raisins; Scifun, University of Wisconsin–Madison
11. M Hollowell; Tornado in a Jar; Earth Science for 1st Graders, Playdough To Plato
Community Experiences
Join the conversation and become a part of our nurturing community! Share your stories, experiences, and insights to connect with fellow parents.
Read full bio of Harshita Makvana

