Image: Shutterstock
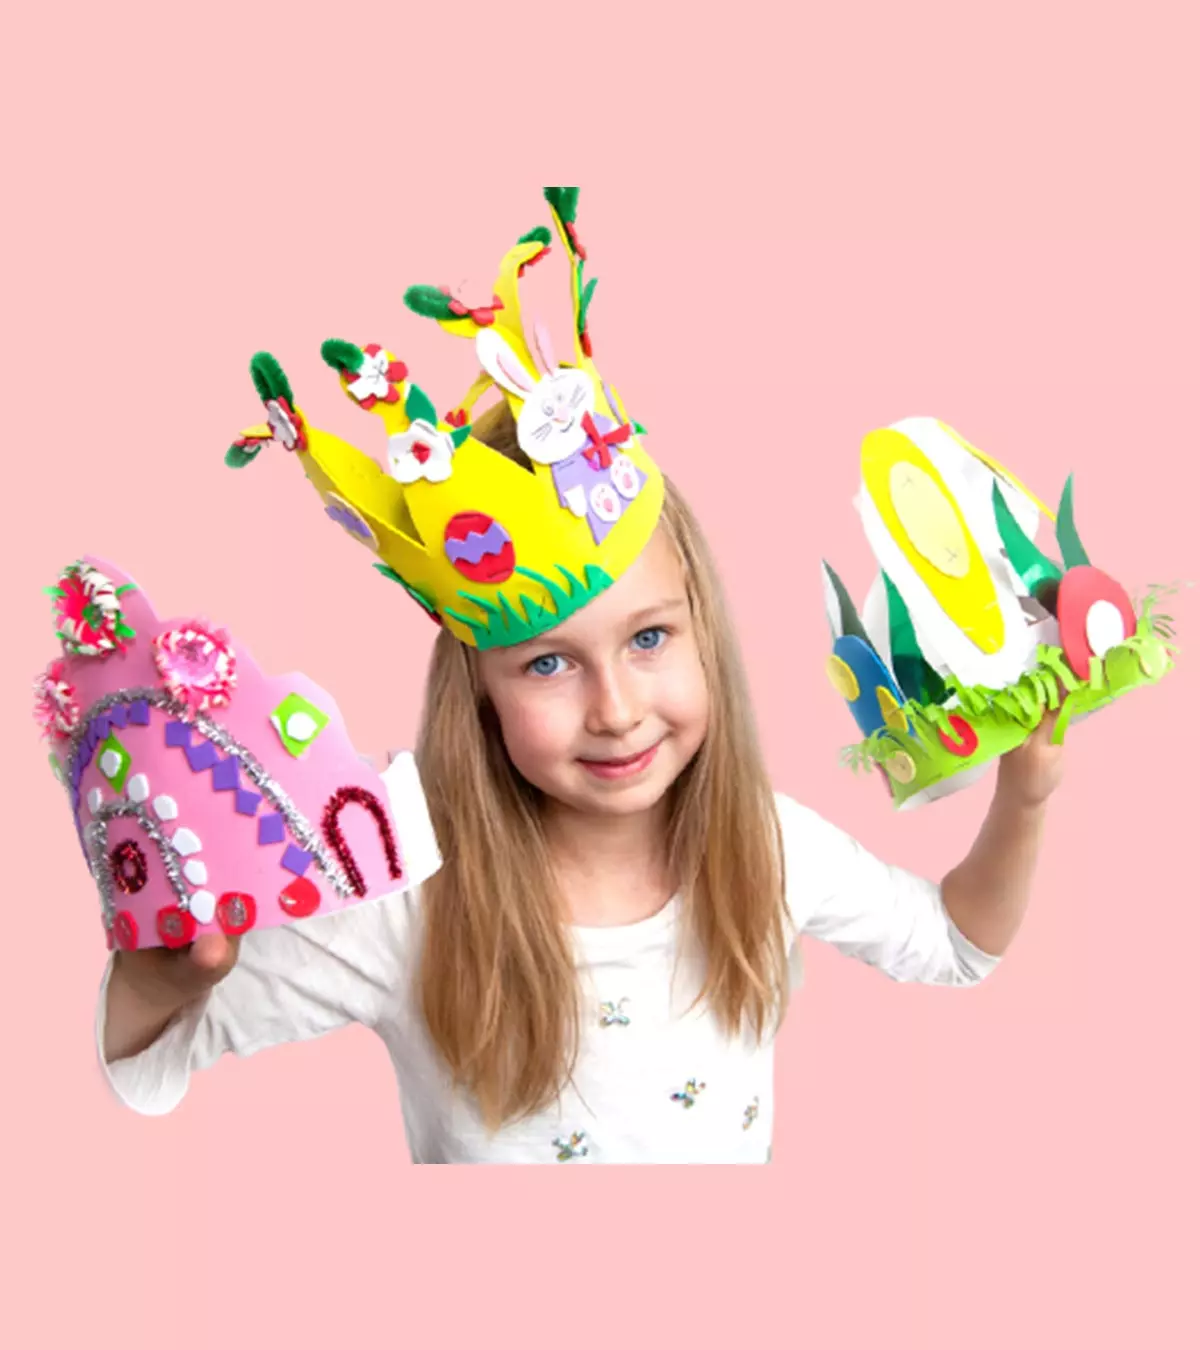
Come Thanksgiving or Halloween festivity, and children get excited to dress up and have fun. Hats and attractive headwears are one of the fun additions to a dress-up party. The following post brings you some hat crafts for kids to help them engage and get party-ready by investing some effort, time, and creativity. Children would love to try their hands on these craft activities. Give them a few supplies, and they are good to go until they create the best hat. The ideas are super easy and fun, so read on.
This ability of children to create fascinating art out of something ordinary may be best explained through the creativity of Chip. Sharing her son Chip’s unique idea of a hat, an anonymous mother of three and a blogger says, “His form teacher had instructed everyone to make/decorate a hat for a Hat Party, and my son had completely forgotten about the assignment until the morning itself when the teacher walked into class.
“He didn’t have any fancy materials with him. So how could his hat stand out amongst all these fancy, glittery, colorful, tall, and big hats? Then, an idea struck him! All around him were either the usual size hats or very big hats. He decided his hat shall be the smallest of all! In fact, why stop at one? So he made THREE! One Small hat, an even Smaller hat, and one Smallest hat of all. So they could all nest within, just like a Russian Nesting Doll (i).”
Hat crafts provide a lot of room for imagination and creativity, and the ideas in post are super easy and fun, so read on.
Key Pointers
- Jazz up your children’s outfit for any occasion with some fun DIY hats, such as a turkey hat with wings made of colored paper.
- Play around with colors to make birthday hats, mermaid hats, or paint a baseball hat.
- Foam crowns, cowboy hats, etc., are some unique DIY hats you can make.
17 DIY Hats For Kids
If you are looking for some simple handmade crafts tutorial to make with your children, hats are something you can consider. They are easy and fun to make and your children can wear them at the end of it all.
1. Paper plate hats
Children can easily make this headwear. Like a cap, it is also customizable according to the size of your children’s heads.
You will need:
- Paper plates, according to the size of the children’s heads
- Scissors
- Pencil
How to make:
- Fold the paper plate in half.
- Draw a simple shape (circle, heart, shamrock, clover, etc.) on one side of the folded plate so that the base of the shape is connected to the rim of the plate.
- Cut out the shape. Now the rim and the shape remain.
- Wear it so that the design pops out and sits on your forehead.
- Color the hat in the colors of your choice and decorate it with accessories to accentuate its look.
2. Turkey hat with wings
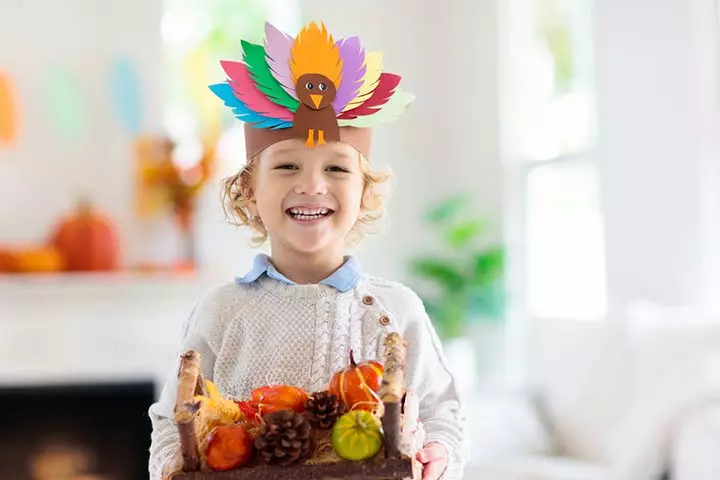
Image: Shutterstock
This is the perfect craft for Thanksgiving. Let your child wear it while waiting for the turkey to roast.
You will need:
- Construction paper in brown, orange, and other colors
- Scissors
- Googly eyes
- Glue
How to make:
- Cut a long rectangular strip from the brown construction paper. This will go around your child’s head.
- Cut a circle from the paper as well for the face of the turkey.
- Cut a diamond-shaped piece from the orange paper.
- Cut wing shapes from the other papers.
- Now, fold the rectangular strip so that the ends overlap (you can roll it around your child’s head for measurement) and paste the ends together.
- Stick the wings on the outer sides of the strip.
- Fold the diamond-shaped orange piece in half to make a beak and stick it on the brown circle.
- Stick the googly eyes on the circle.
- Stick the circle on the rectangular strip so that the wings are on the side.
3. Template paper hats

Image: Shutterstock
These are easy to make, and you can mix and match different colors and patterns. Even preschoolers can make these hats quite easily.
You will need:
- A4 size paper or letter-sized cardstock
- Scissors
- Glue
- Markers
- Decorative items (sequins, glitter, artificial feathers, artificial flowers and leaves, ribbons, felt, etc.)
How to make:
- Get different hat templates from the Internet and print them on paper or cardstock.
- Cut out the hat according to the instructions on the template.
- Attach the different pieces as mentioned in the template.
- Color and decorate them as you wish.
4. Sailor hats
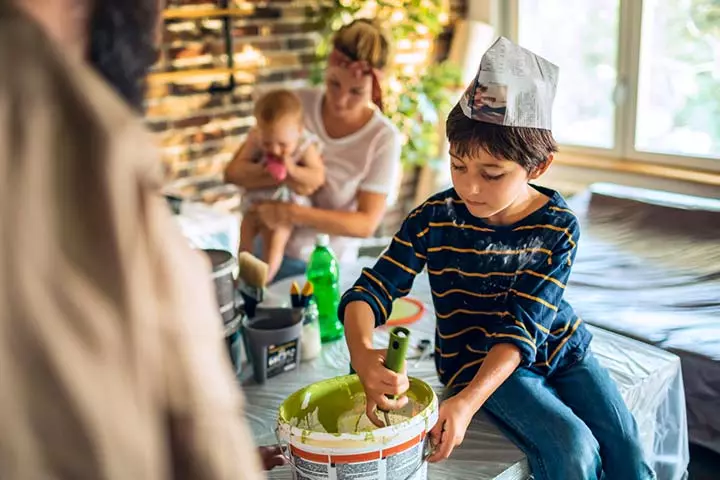
Image: IStock
If your child loves playing sailors and pirates, they will find inspiration in making sailor hats for themselves. You can make these for birthday parties as well to distribute as favors among children.
You will need:
- A rectangular sheet of paper (half sheets of newspapers will also do)
- Crayons
- Decorative items
How to make:
- Fold the paper in half lengthwise. Crease it well and open the paper flat.
- Now fold the paper widthwise and crease it.
- Fold and bring the top corners together so that they form two triangles. Crease them well so that they don’t open.
- There will be a rectangular section below the triangles. Fold the front flap of this rectangle up so that the flap meets the base of the triangles.
- Fold the flap upwards again so that it overlaps the triangles.
- Repeat the previous two steps for the back flap as well.
- Open the hat and put it on.
- Crease every fold well. You can make the hat sturdier by using glue or tape.
- Decorate each hat as you want.
5. Mermaid hats

Image: Shutterstock
If you have planned a mermaid-themed birthday party for your child, you can make these hats easily at home. Your children can also turn them into personalized party favors for their guests.
You will need:
- Blue cardstock or cardboard paper
- Glue
- Paints and paintbrushes
- Decorative items (seashells, pom-poms, stickers, glitter, etc.)
How to make:
- Twist cardstock into a conical shape and glue the ends together.
- Decorate the hat in whichever way you want. Make sure you attach seashells to the hat.
- If you do not have blue cardstock, you can take white ones and spray paint or paint them in blue.
 Caution
6. Angry Birds birthday hat
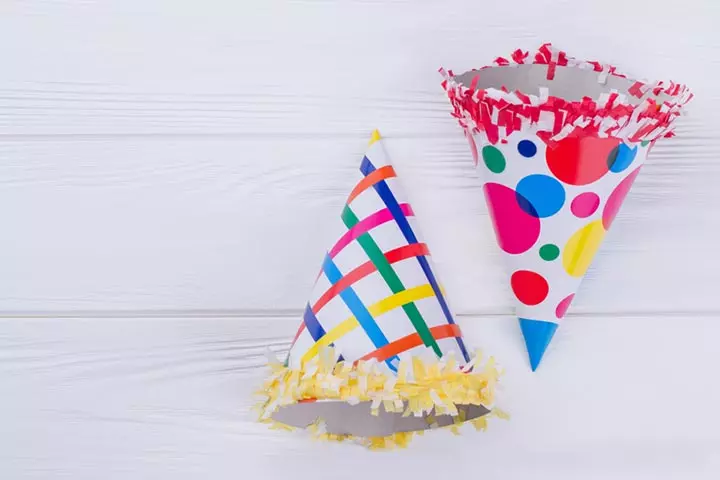
Image: Shutterstock
“Angry Birds” is quite a popular theme among children, especially for birthday parties. Make some easy “Angry Birds” birthday hats with your children.
You will need:
- Cardstock in bright colors
- Googly eyes
- Marker
- Glue
- Black felt
- Fake feathers and pipe cleaners
- Scissors
- Colorful stickers
How to make:
- Twist the cardstock into a cone and glue the overlapping edges.
- Stick on the googly eyes.
- Cut the black felt for the eyebrows and attach them over the eyes.
- Draw a beak and other details using markers.
- Bend the pipe cleaners into different shapes for the wings or the crown and stick them on the hat.
- Glue on some feathers.
- You may also use some stencils to trace fun angry bird images that will make the hats more attractive.
7. Paper visor

Image: Shutterstock
Paper visors are pretty popular with children during picnics and hikes. This crafting is based on templates.
You will need:
- Letter-sized cardstock
- Marker
- Scissors
- Items for decoration
How to make:
- Print out a template for a paper visor off the Internet on the cardstock.
- Decorate it in the way you wish.
- Cut out the template along the dotted lines.
8. Paper plate turkey hats
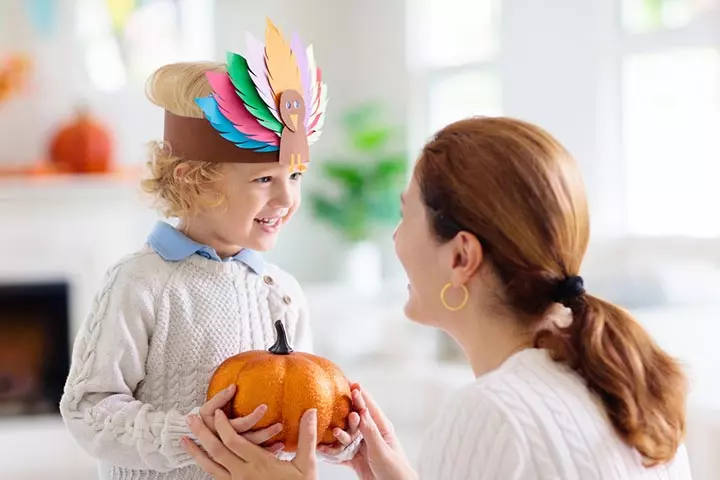
Image: Shutterstock
Here is another idea for a Thanksgiving hat. It is easy to make and pretty and colorful. You can even make it for different birds on different occasions.
You will need:
- White paper plate
- Scissors
- Paints
- Q-tips
- Construction paper in dark brown, light brown, orange, and red colors
- Glue
- Craft foam
- Stapler
- Googly eyes
How to make:
- Cut a paper plate in half.
- Using a Q-tip for each color, dab different colored paints into each groove of the plate.
- Cut a semicircle from the dark brown paper and stick it below the colored lines so that the flat lines of both the semicircles match.
- Cut a circle from light brown paper and stick it on the plate. This is the face of the turkey.
- Stick the googly eyes.
- Cut a diamond shape from the orange paper for the beak, fold it in half, and glue it along the fold to the face.
- Cut a comma-shaped piece from the red paper and paste it below the beak for the wattle.
- Cut orange paper into two 8×2-inch long strips and create an accordion fold.
- Attach them to the two inner edges of the paper plate on opposite sides for the legs of the turkey.
- Cut the foam into two 2×11-inch strips.
- Staple one end of each piece together.
- Attach the stapled ends of the foam to the center back of the turkey.
- After it has dried, wrap the bands around your child’s head and staple the other ends to fit.
9. Painted baseball hat
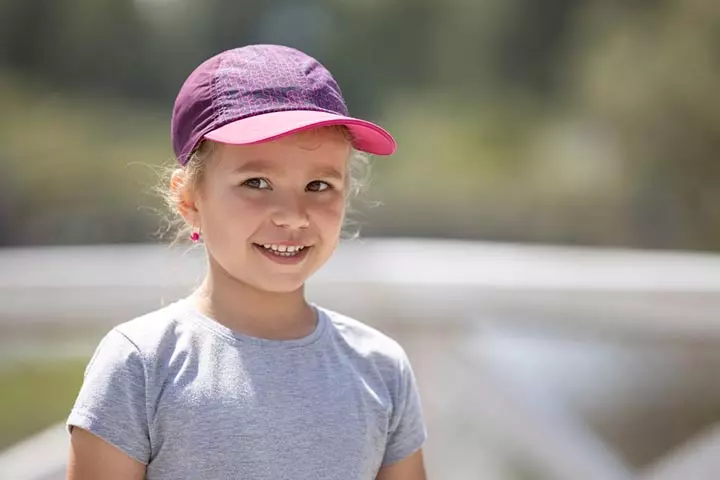
Image: Shutterstock
Painting a baseball hat is extremely easy. Besides, it looks pretty. You can select any pattern and paint it on the hat.
You will need:
- A baseball hat
- Spray paint
- Acrylic paints
- Textile medium
- Paintbrush
How to make:
- Mix one part textile medium to two parts of color paint.
- Paint the bill of the hat in one color.
- Paint patterns on the top of the hat.
- Let it dry completely.
- You can paint birds, animals, rainbows, stars, insects, etc., on the hat.
- If you want a particular color as the base, place the hat on a sheet of newspaper and spray paint it.
10. Paper crowns
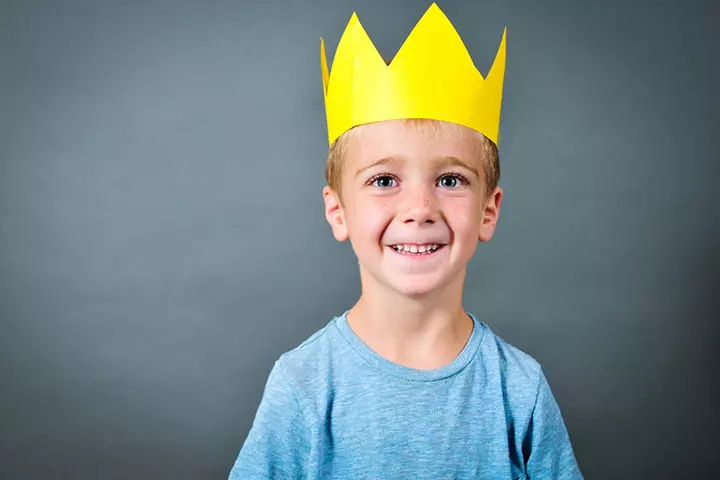
Image: Shutterstock
If you want your child to feel like royalty, make this easy paper crown for them. This is a great party craft for kids. They can help color it and then wear it proudly.
You will need:
- A4 sized cardstock
- Crayons, acrylic paints, or watercolors
- Scissors
- Pencil
- Glue
- Marker
How to make:
- Draw the shape of a crown on the cardstock. You can draw pointy triangles or semicircles.
- Draw jewels in different shapes on the crown.
- Paint the crown and the jewels in the colors of your choice.
- Cut two strips measuring 2×8 inches from the cardstock.
- Glue each strip from opposite edges of the crown.
- Fold it over your child’s head and glue the ends where they meet.
11. Dino hat
For children who love everything dinosaurs, this is the perfect idea for a dress-up party. You can make this with very young children to improve their motor skills.
You will need:
- Three sheets of construction paper
- Glue stick
- Scissors
- Tape
How to make:
- Cut four one-inch wide strips along the long side of a construction paper. Two of these will be the headbands, and the other two will be the pieces on which the spikes of a dinosaur will be attached.
- Take the other two sheets of paper and cut them into two-inch-wide strips along the short side of the paper.
- Fold each of these strips in half and draw an open triangle starting from half an inch above the folded end.
- Cut along the line so that you get a diamond-shaped piece with a flat area in between when you open it.
- Repeat this process for all the short strips.
- Glue these spikes on two of the longer strips.
- Fold these spikes over the longer strip, crease well, and glue the ends together. You will get a hollow pyramid shape.
- After the whole structure has dried, tape the headband to the strips with the spikes. One strip should go over the child’s head, and the other strip should hang like a braid.
12. Foam crown
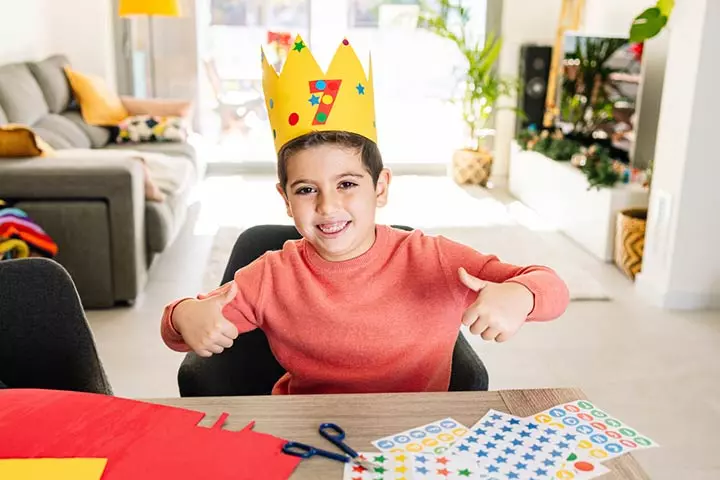
Image: Shutterstock
Here is another crown idea for the little princesses. Make these cute crowns from craft foam and see some colorful royalty right at home.
You will need:
- Craft foam
- A4 size paper
- Hole punch
- Elastic band
- Glue
- Pencil and other drawing accessories
- Scissors
- Buttons, beads, rhinestones, glitter, sequins, etc. in different sizes and colors
How to make:
- Draw a crown of your choice on the sheet of paper.
- Transfer the pattern to the craft foam for tracing. You can use paper clips or tape to hold the paper in place while tracing.
- Cut out the foam along the traced lines.
- Punch a hole each on the right and left edges of the crown.
- Decorate the crown as you wish using age-appropriate intricate embroidery or accessories.
- Thread an elastic band through the holes and knot it on both ends on the inside of the crown.
13. Cowboy hat
Hurry up and make this dashing cowboy hat for your children. It is super easy to make, and your children can play cowboys and sheriffs.
You will need:
- Cereal box
- Aluminum foil
- Black acrylic paint
- Rope
- Glue
- Scissors
- Sharpie
- Paintbrush
- Jewels, pom-poms or ribbons (optional)
How to make:
- Cut one long straight strip, one shorter strip that curves at the ends, and a rectangle with a semicircle cut on the top from the cereal box.
- Color the hat in black and let it dry.
- Cut a star from the aluminum foil.
- Write the child’s name or ‘SHERIFF’ or ‘COWBOY’ on it with the sharpie.
- Glue the long strip on the front bottom of the rectangular piece and then stick the short, curved strip just a bit above the straight piece so that it looks like the brim of a hat.
- Stick a piece of rope on the upper edge of the hat brim and glue the star on top of it and add the decorations items if available.
- Place the hat on your child’s head and fold the straight strip around. Glue the ends.
 Be watchful
14. Paper party hats
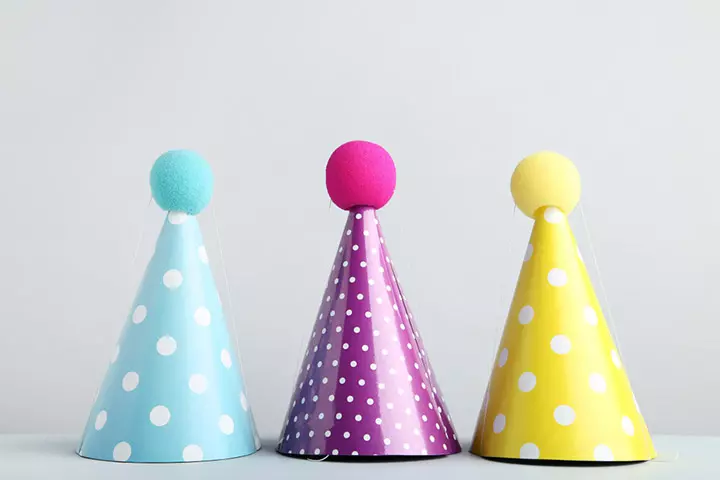
Image: Shutterstock
If you have a bunch of old newspapers ready for recycling, fashion them into beautiful hats. Children love making these hats, and you can even make them for occasions like engagements, weddings, and birthdays.
You will need:
- Newspaper
- Masking tape
- Paper flowers
- Scissors
How to make:
- Place two or three sheets of newspaper on the child’s head and mold it to the shape of the head.
- Use masking tape to help the newspaper hold the shape.
- Add flowers and pass a layer of masking tape over them.
- Roll the brim over, starting from the forehead. Roll as tightly as you can.
15. Pilgrim hat
This is another hat you can make with your children for Thanksgiving. These hats can be made from newspapers and require minimal effort.
You will need:
- Newspaper
- Masking tape
- Black paint
- Paintbrush
- Hole punch
- Black elastic cord
- Craft foam in orange and yellow
How to make:
- Fold a full sheet of newspaper in half. Next, fold and bring the top two corners so that they meet at the center.
- Hold them in place with masking tape.
- There will be a rectangular section below the triangles. Fold the front flap of this rectangle up so that the flap meets the base of the triangles.
- Fold the flap upwards again so that it overlaps the triangles.
- Repeat the previous two steps for the other flap as well.
- Color the hat in black. Let it dry.
- Punch a hole each on the left and right edges of the hat near the brim.
- Thread the elastic cord through the holes and knot them on the inside.
- Cut the orange foam in a 1×11-in strip and stick it on the hat.
- Make a small square-in-square pattern with the yellow and orange foam. Stick it on the orange strip.
16. Scarecrow hat
Turn your little child into a cute and not–so-scary scarecrow this fall. Here is another easy craft project you can make in different colors.
You will need:
- Newspaper
- Masking tape
- Paints in fall colors
- Paintbrush
- Hole punch
- Raffia
- Construction paper in different colors
- Glue
- Black marker
How to make:
- Fold the newspaper similar to a pilgrim hat.
- Paint it in the fall color of your choice.
- Punch a hole on each end of the hat and tie a piece of raffia for the chin strap.
- Cut two 2×6-inch strips of straw-colored paper—cut them into long strips from one end until three-fourths through.
- Crumple them and glue the uncut upper edges to the inside edge of the hat’s brim.
- Cut small rectangles from other colored papers and stick them on the hat to style them like patches.
- Draw stitch marks around these pieces with a black marker.
17. Minion hat
The adorable minions are every child’s favorite animated character. Here’s an easy way to replicate the cuteness in the form of a hat.
You will need:
- Yellow corrugated cardboard 22” x 22″
- Silver-gray corrugated cardboard 3″ x 6″
- White cardboard 3″ x 5″
- Black paper 18″ x 1/2″
- Glue
- Black yarn
- Scissors
- Ruler and compass
How to make:
- Cut out a 3 ½ inch by 22 inch band on the yellow cardboard and two circles of 9 inches and 12 inches in diameter, respectively.
- Draw two inner circles of 5-inch and 7-inch diameters in the bigger cardboard circle and one 7-inch inner circle in the smaller circle.
- Make slits 2 inches in length as seam allowance using the inner circles drawn as guiding lines. This is to stick the pieces.
- Now arrange the bigger circle as the base of the hat, the band, and the smaller circle as the top. Stick the slits to the band with glue.
- Cut out circles and make googly eyes from white, black, and silver-gray paper (goggle rim). Stick them to a ½ inch band cut out from the black paper.
- Stick the minion eye goggles on the band of the hat.
- Take a bunch of yarn and tie them at the center. Apply glue on it and stick it on the inside of the hat.
- Poke an equal number of holes at the top of the hat (below which you stuck the yarn bunch) and pull the yarns through the holes to make minion hair.
Frequently Asked Questions
1. How can hat crafts be used to teach kids about history and culture?
Hat crafts have a way of being used in storytelling. They can be used to reiterate an event within the pages of history, such as the significance of national holidays, cultural differences worldwide, customs followed by different people, and how the world has evolved over time.
2. What safety considerations should parents keep in mind when allowing their kids to make hat crafts?
While making hat crafts, parents should ensure that children use tools and sharp objects under their supervision and do not put anything that is inedible or small such as glue, buttons, or glitter in their mouth. In addition, they should ensure that children make hats that fit comfortably and use clean, child-safe materials in the making process.
3. How do I decorate a hat for a kid’s costume?
Use paints or fabric markers to add color to the hat. Consider the colors associated with the costume or the character. You can paint patterns, designs, or any preferred logo or symbol on the hat. Depending on the theme and personalization of the hat, add materials like fabric, buttons, ribbons or other embellishments. Lastly, ensure the hat fits the child comfortably using an elastic band, ribbon tie, or adjustable straps.
4. How do I make a hat out of felt for my child?
You can make a beautiful hat from felt for your child using commonly available materials like felt fabric, scissors, measuring tape, pencil, glue, needle and thread, and decorative items. Start by measuring the circumference of your child’s head to get the exact shape and size of the hat. Secondly, cut the felt fabric and trace around it with a pencil. Measure and cut the crown to form the desired crown height. Shape the crown by giving it either a circle or oval-shaped design and match it with the circumference of the head. Lastly, attach the brim and glue or stitch them to the crown and ask your child to add decorative items. This project is just one of many felt crafts ideas for kids that can be fun and educational.
5. How can I teach my child to make a hat using recycled materials?
Gather a variety of recycled materials from around your home. Look for cardboard boxes, cereal boxes, newspapers, magazines, fabric scraps, or other materials that can be shaped or manipulated into a hat. Cut out the desired shape for the hat’s base using cardboard or sturdy recycled materials to serve as the foundation onto which other materials will be added. They can add colors, decorations, patterns, or even draw pictures to personalize their hat. Use glue or tape to secure the added materials in place. Lastly, ensure that everything is securely attached and that the hat is comfortable for your child.
These hat crafts for kids will help your little ones to have fun and stand out from the rest with their unique DIY hats. Unlike complex arts and craft ideas like sewing, knitting, and crocheting, these simple craft activities are easy to comprehend and it will help them develop fine motor skills, improve creativity, and will learn about shapes and colors. These also encourage critical thinking abilities and imagination. You can participate in this activity along with your child and spend quality time as a family. The cherry on the cake is that the material used in this craft is recyclable and reusable.
Infographic: Unique And Creative Hat Crafts For Children
Crafts are fun and productive activities for children to engage in. They promote your children’s artistic expression and creativity and provide long hours of fun. Explore the infographic below to learn some easy hat crafts for children. This guide includes funky ideas, from simple party hats to more artistic ones.
Some thing wrong with infographic shortcode. please verify shortcode syntaxIllustration: Hat Crafts For Kids: 16 Creative Diy Ideas

Image: Stable Diffusion/MomJunction Design Team
Unleash your imagination by creating a trendy paper hat! Take the help of our simple DIY Tutorial in creating a personalized and fashionable headpiece that truly reflects your individuality.
Personal Experience: Source
MomJunction articles include first-hand experiences to provide you with better insights through real-life narratives. Here are the sources of personal accounts referenced in this article.
i. My creative child and his story of hats;https://domesticgoddess-ourworldmyworld.blogspot.com/2016/10/my-creative-child-and-his-story-of-hats.html
Community Experiences
Join the conversation and become a part of our nurturing community! Share your stories, experiences, and insights to connect with fellow parents.
Read full bio of Erin DeCarlo
Read full bio of Nisha Bharatan
Read full bio of Harshita Makvana
Read full bio of Vaswati Chatterjee


