
Image: Shutterstock
Engaging in craft-based activities help children hone their creative skills. Christmas is a great time for kids to take part in fun craft work to decorate the household. What better way to engage your children in arts than introducing them to Christmas tree crafts for kids. Christmas tree crafts let kids apply their best skills to prepare a beautiful display item. In this post, we list some of the amazing craftwork that can be tied to a Christmas tree. Read on to learn more.
Simple Christmas Crafts For Kids
Engaging kids in some fun indoor activities like making crafts is probably the best way to entertain them while they wait for Christmas Day. For your benefit, we have compiled a list of some fantastic Christmas craft ideas for children.
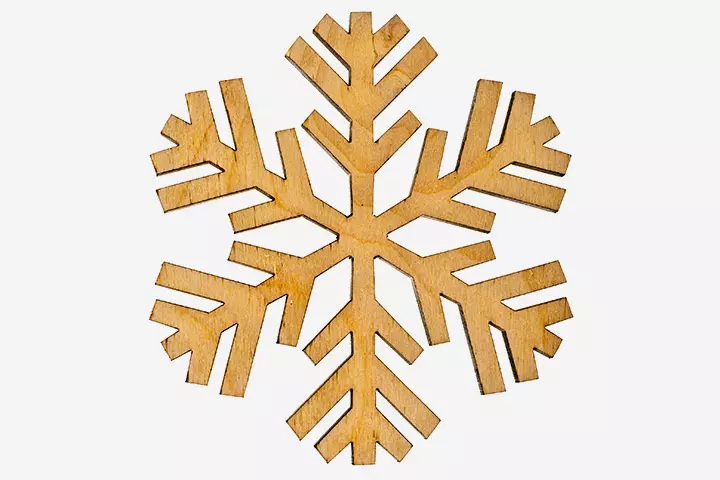
1. Wooden Snowflake Ornament:
Image: Shutterstock
You Will Need:
- An assortment of wood pieces.
- Hot glue gun
- Thick white glue
- String or wire for hanging.
How To:
- Take a 2-inch square piece of wood for the base. The base will support the other pieces
- Assemble the pieces until you get a snowflake design and affix with white glue. Remember, a real snowflake has 6 points. Do not wedge the pieces against each other.
- Now attach a wire or string and your snowflake is ready to be used for decoration.
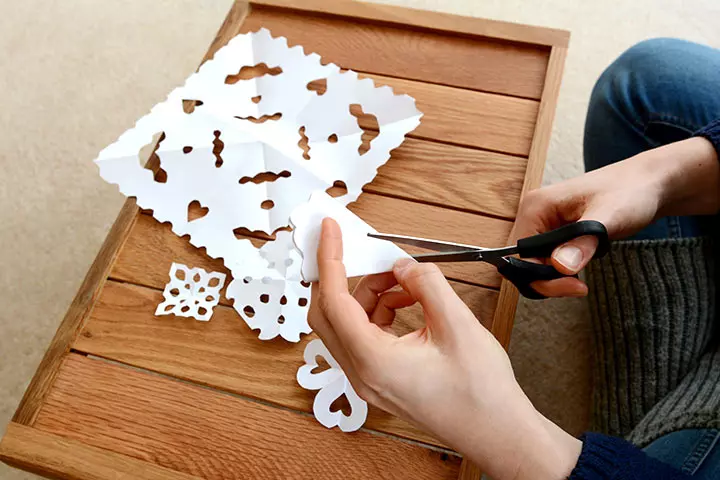
2. Paper Snowflakes:
Image: Shutterstock
You Will Need:
- White or blue square paper
- Scissors
How To:
- Fold the paper in half. Now fold the paper in half diagonally. It will make a triangle.
- Now fold the triangle into another triangle to make the pointed corners meet.
- Fold the triangle into thirds. Fold again to form a rocket. Don’t crease the paper until the folds are perfect.
- Now chop off the bottom. The paper should be straight.
- Cut the folded paper with straight and curvy lines.
- Unfold the paper to see your unique creation.
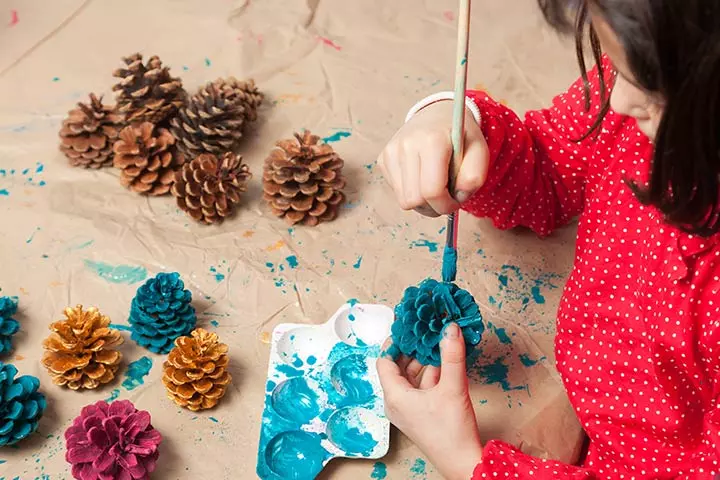
3. Pine Cone Christmas Ornament:
Image: Shutterstock
You Will Need:
- Pine cones
- Yarn
- Glitter
- Craft glue
- 2 bowls
- Water
How To:
- Fill a bowl of water with three parts glue and one part water. Mix well.
- Fill the second bowl with a thin layer of glitter.
- Dip the ends of the pinecone into the glue mixture.
- Now hold the pine cone over the glitter bowl and apply glitter over it. Leave it to dry.
- Tie a piece of yarn on top of the pinecone and hang on the tree
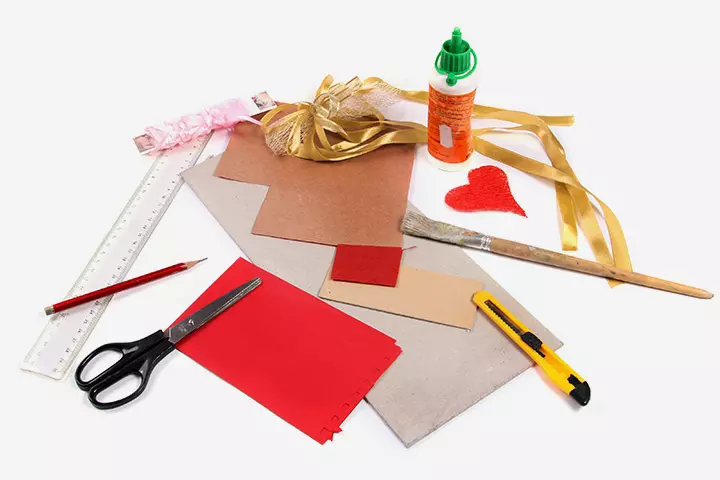
4. Paper Christmas Ornaments:
Image: Shutterstock
You Will Need:
- Decorative foam stickers.
- Red and green craft foam.
- Hole punch
- Ribbon
- Scissors
How To:
- Cut a large ornament from the craft foam.
- Now tell your kid to stick the foam stickers on the foam ornament.
- Create a hole at the top center of the ornament.
- Cut a 4-inch piece of ribbon and thread through the hole.
- Tie a knot and hang on the tree.
Christmas Tree Crafts For Kids
We have compiled a set of top Christmas tree craft ideas here to keep your kid busy during the holidays!
1. Christmas Tree Tags:
These cute and innovative tags work best for gifts. You can get your kid to cut out Christmas trees from different patterned paper and make a tiny hole at the top. Then pass a small piece of ribbon through and tie it such that it makes a loop at the top, isn’t it cool and easy to make!
2. Paper Christmas Trees:
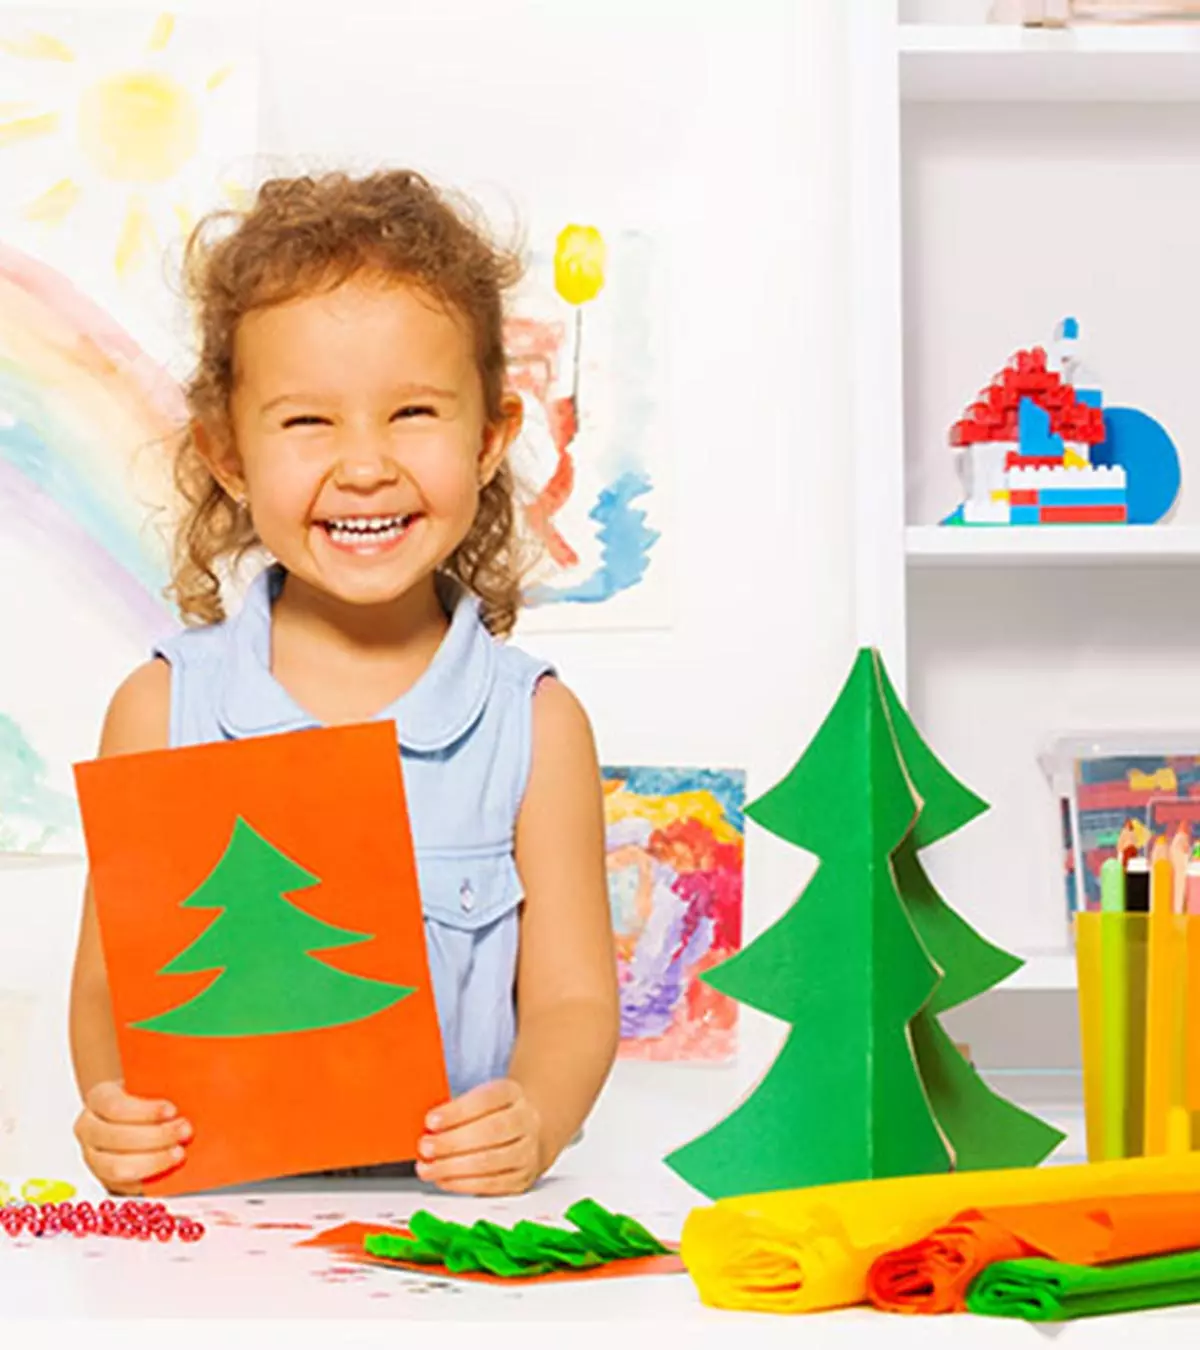
For personalized Christmas cards, ask your child to simply cut out different-shaped Christmas trees from a sheet of green paper. Decorate it using different sequins, glitter and buttons, this is such a simple yet cute little idea!
3. Felt Christmas Tree Hanging:
For wall hangings and home decorations, you can ask your child to cut out two pieces of Christmas trees from green colored felt and stitch them together neatly (you can do this by yourself if your kid is small), and then ask her to decorate it using glitter and buttons!
4. Christmas Tree Variations:
Using different shades of green colored paper and a zigzag child friendly scissor, ask your kid to experiment different shapes and styles of the basic Christmas tree. Use them to make Christmas cards or any other decorative items for the occasion.
5. Buttoned Christmas Tree:
This one is a great idea that can help your kid understand shapes and colours. Plus, you don’t need a pair of scissors for this one. Simply trace out an outline of a Christmas tree on a sheet of paper, and place some buttons and a bottle of glue- and get your kid to stick buttons along the outline of the tree. Tada your unique Chirstmas tree is ready!
6. Potted Christmas Tree:
In a small pot, get him to add some clay. Cut out a simple triangle from a sheet of green paper and cut it again into 5 sections. Now stick these sections on an old branch painted in green color, such that each one is at a slight distance apart. Now get your child to push this stick into the clay, and then decorate the tree.
7. Clay Christmas Tree:
Clay modeling is another fun activity you can get your child to learn, something that will keep him occupied for hours. This is an activity that will help boost his creativity and improve his motor skills. Get him a block of green clay and help him mold it in the shape of a tree.
8. Napkin Christmas Tree:
Here’s another simple Christmas tree idea to get your kid to try, especially if you don’t have any craft materials at home and want to get your kid busy till you prepare the Christmas dinner. Explain your kid to follow these simple steps and fold a simple green napkin into the shape of a Christmas tree!
9. Felt Christmas Tree:
Take a couple of pieces of felt and cut it into the shape of a Christmas tree. When sewn back together, you can get your kid to create some wonderful decorations for the house. Ask him to work with beads, sequins and paints and give the tree a cool twist.
10. Beaded Christmas Trees:
This one’s very similar to the button Christmas tree idea, the only difference is your kid will be using beads instead of buttons. When finished, you can frame it up and hang it on your kid’s bedroom wall, and it will be a masterpiece to showcase!
Christmas Card Making Ideas For Kids At Home
This Christmas, get your kids all excited about the holidays by helping them make some greeting cards for the family. Here is our compilation of some Christmas card ideas for kids that you could use to make some at home.
1. Heart, Star, Santa Hat Cutouts For Card:
Image: Shutterstock
You Will Need:
- A piece of card paper
- Old magazine papers or colored papers in the shades reds, silver and whites
- Pair of scissors
- Glue
How To:
- Let your kid cut out different sized shapes of hearts, stars and Santa hats from the old magazine papers or colored papers.
- Ask your kid to fold the card in half to give it shape.
- Now let your kid glue the cut out shapes to the front of the card to make a big heart that will have the hearts, Santa hats and the stars.
- Once done, ask them to write out a nice message inside that will spread the joy of Christmas.
2. Reindeer Card:
Image: Shutterstock
You Will Need:
- White card paper
- Different colored papers
- Pencil
- Pair of scissors
- Glue
How To:
- Help your kid cut out a reindeer silhouette from the white card paper.
- Now let them cut out small circles from the colored papers and stick on the antlers.
- Glue the reindeer on top of the greeting card.
3. Pop Out Christmas Tree Card:
Image: Shutterstock
You Will Need:
- White card paper
- Red marble paper
- Glue
- Pencil
- Knife to be used only with adult help
How To:
- Ask your kid to fold the card paper and open it again, and glue the red paper on the inside.
- Now let your kid write out the word Merry Christmas on the front in decorative font. Also help your kid draw a Christmas tree on the front.
- Now use the knife to carve out only the front of the card to scoop out the words Merry Christmas and the outline of the Christmas tree. While doing so, make sure the bottom base of the Christmas tree stays attached to the card.
- Let your kid push it downwards so that it looks as if a Christmas tree is hanging down from the card.
4. Christmas Decoration Greeting Card:
Image: Shutterstock
You Will Need:
- Green construction paper
- White buttons
- Red beads
- Construction paper in red and white
- Pair of scissors
- Glue
- Decorative string
How To:
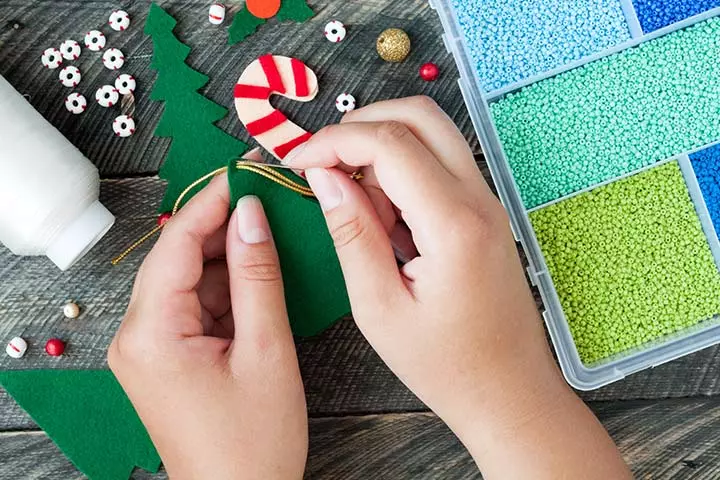
- Help your kid cut out Christmas tree shapes from the green paper and candy cane from the white.
- Let them decorate the candy cane with strips of red paper.
- Help them loop the string around the tree and tie in a bow.
- Ask them to use all these decorations to add to a Christmas greeting card.
5. Handprint Santa Card:
Image: Shutterstock
You Will Need:
- White paint
- Paint brush
- Disposable paper plate
- Card paper
- Red paper
- Pair of scissors
- Glue
- Googly eyes
- Black marker
How To:
- Dip your kid’s hand in white paint and take the imprint on the front of the card, with the fingers facing down.
- Cut out a hat shape from the red paper and stick on top.
- Stick the googly eyes and make nose and mouth using the marker.
- Use the white paint to decorate the hat.
Fun Christmas Crafts For Teens
Crafting will give your teenager an opportunity to get into the Christmas spirit and reflect on the importance of the holiday. Here’s a roundup of some beautiful Christmas craft ideas for teens they will love to make.
1. Jingle Bell Wreath:
Via: Source
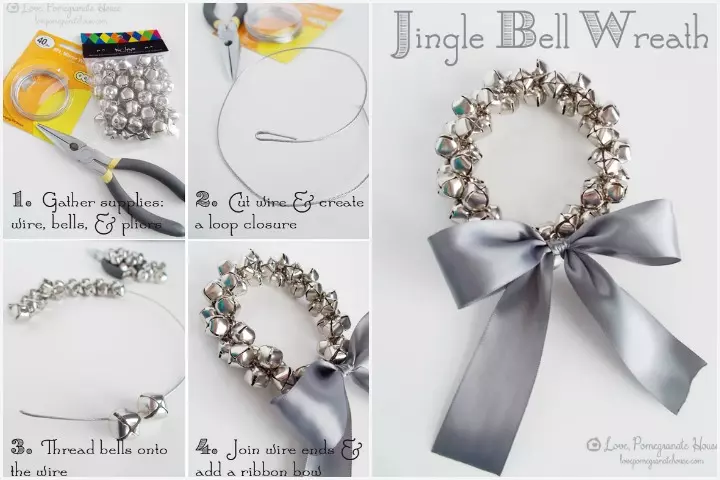
You Will Need:
- Wire
- Bells
- Pliers
- Silver or gray ribbon.
How To:
- Tell your teen to cut the wire to the desired length. Create the loop closure using the pliers.
- Have her thread the bells onto the wire. The wire should be full of bells.
- Join the wire ends by hooking them together and tie a ribbon bow on it.
2. Winter Wonderland Snow Globe:
Image: Shutterstock
You Will Need:
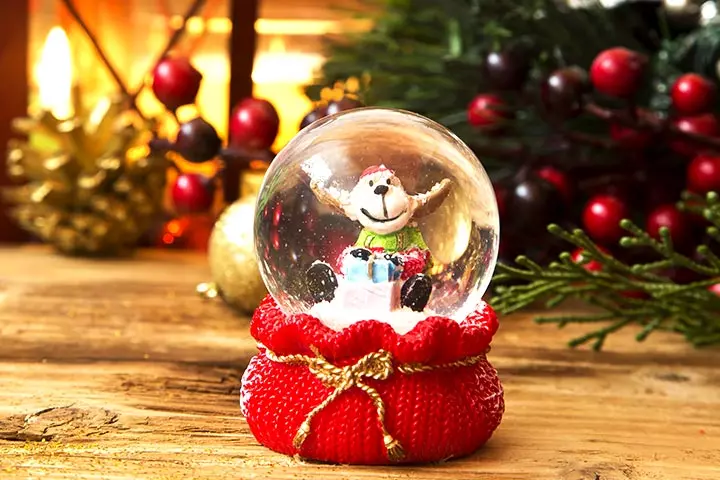
- Water globe with base.
- Reindeer toy
- Snowflakes for water globes.
- Paint
- Paintbrushes
- Waxed twine
- Silver beads for bells.
- Aluminum foil
- Screw and washer.
- Drill with a 3/32-bit.
- Ribbon and bells
- Silicone sealant
How To:
- Paint the base of the globe red. Affix the bells in the center of the base.
- Press the reindeer and tree into the clay and make indentations.
- Bake the clay in the microwave.
- Drill a hole in the center of the clay and attach to the gasket with a washer and screw.
- Cover the seams with a silicone sealant.
- Now glue the figures with the sealant.
- Presoak snowflakes; fill the globe with water and seal.
Christmas tree crafts for kids are fun to encourage their creativity and imagination during the holidays. Crafting with family members can also be an enjoyable activity. The birth of Jesus is commemorated with the Christmas tree and other decorations in the home, and the countdown to the new year begins. You can also keep track of your children’s understanding of each ornament and its meaning. Making a Christmas tree and accompanying decorations, such as tags and paper snowflakes, may be fun to enjoy during the holiday season.
Community Experiences
Join the conversation and become a part of our nurturing community! Share your stories, experiences, and insights to connect with fellow parents.
Read full bio of Manjiri Kochrekar


