Image: ShutterStock
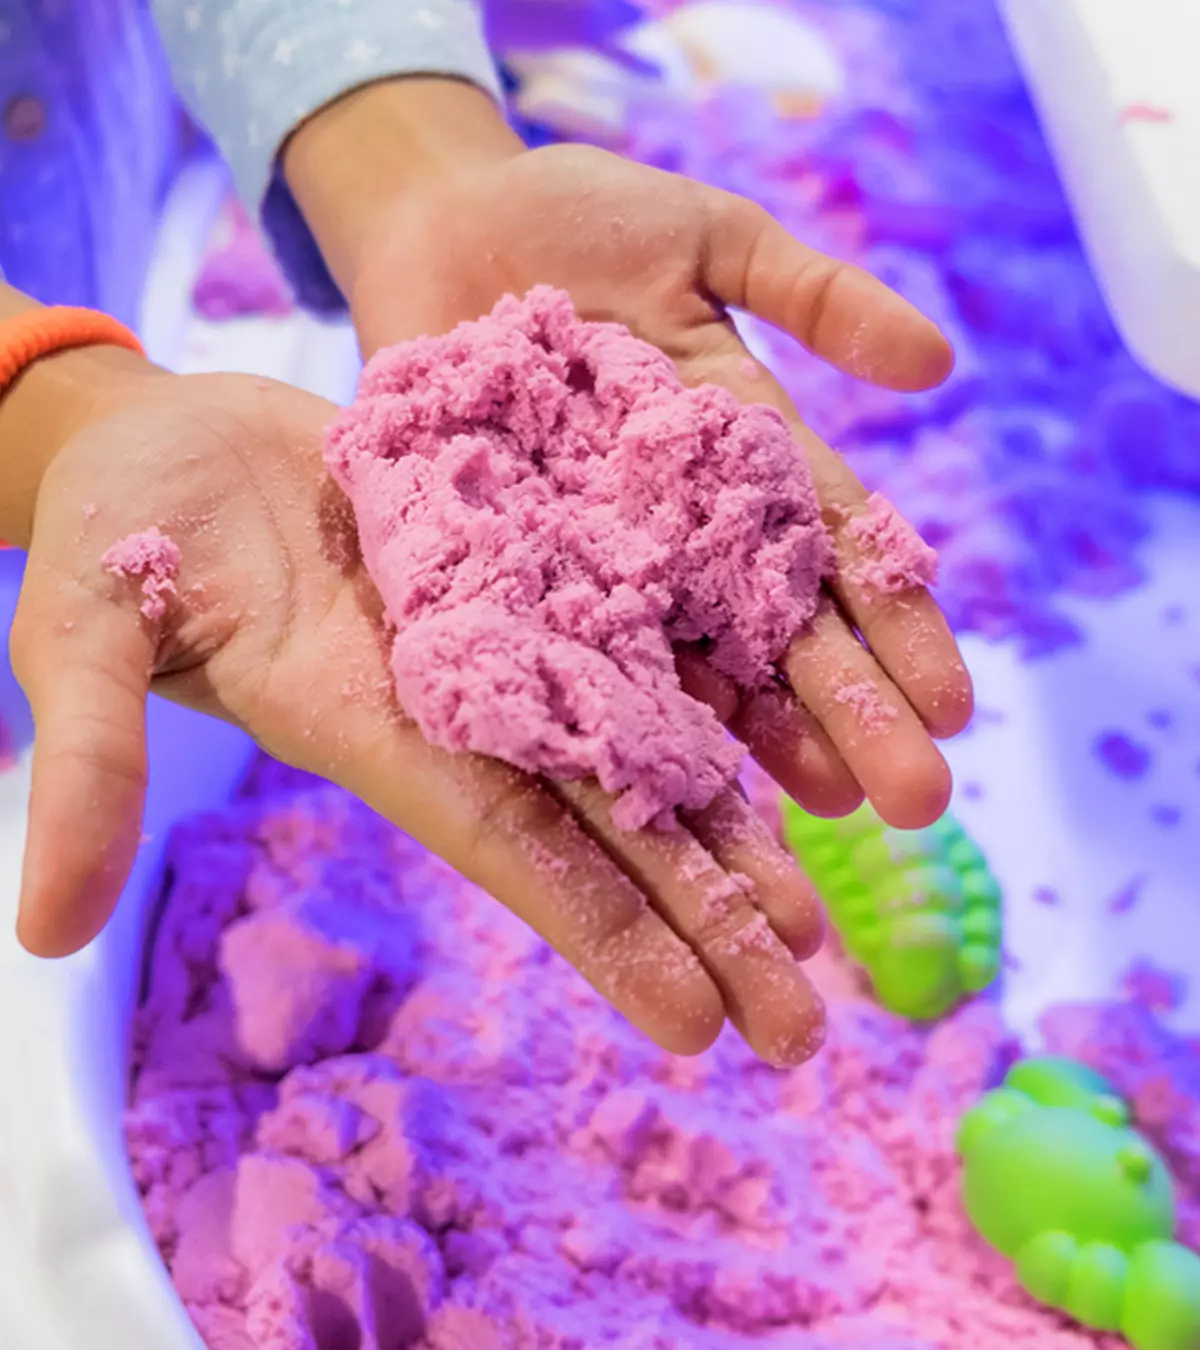
Most children in recent times spend significant time on the internet to keep themselves entertained. If your child is one such kind, having them learn some easy kinetic sand recipes for kids may help boost their creativity. Kinetic sand is a special type of sand made for playing or making toys.
Keep reading to explore a few awesome kinetic sand recipes that you and your little one could enjoy making at home.
Key Pointers
- Kinetic sand activities could help hone a child’s sensory and motor skills.
- Children can easily grasp kinetic sand and mold it into shapes for a fun learning experience.
- Edible Cornmeal Kinetic Sand and Moldable Play Sand are some fun and easy DIY kinetic sand recipes for kids to try.
What Is Kinetic Sand?
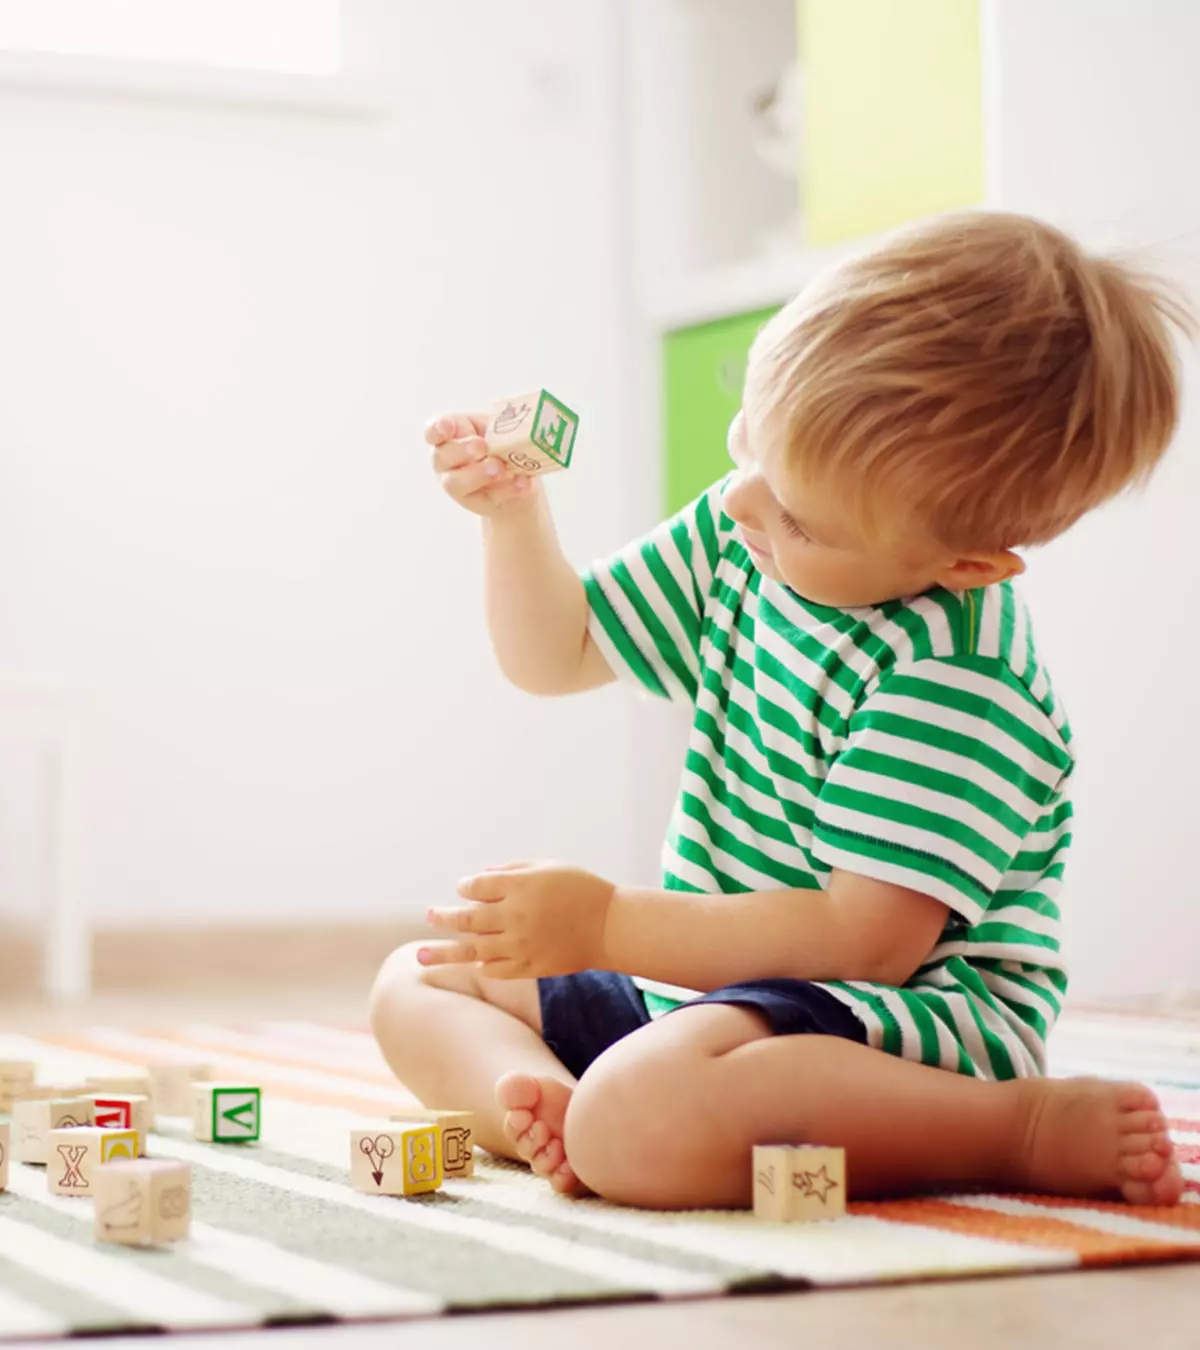
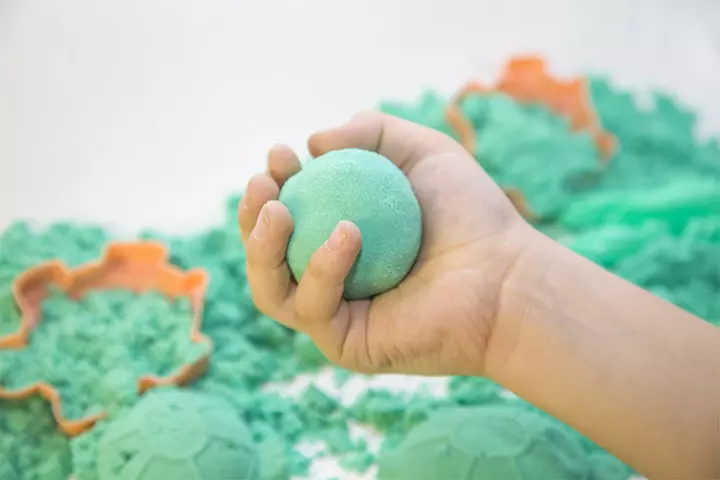
Kinetic sand is squeezable sand that is made of larger grains of regular sand and coated with special ingredients that give it a soft and crumbly texture. Even the tiniest of hands can have fun with kinetic sand because it is neither too dry nor too wet and can be easily grasped and molded into different shapes. A child can use their imagination to create a game using kinetic sand.
So, is kinetic sand moon sand? You might ask. No, kinetic sand is not the same as moon sand. Kinetic sand has this amazing unique property that keeps the sand in a slight movement.
Why Should You Let Your Child Play With Kinetic Sand?
Sensory play at a young age will greatly help improve your child’s fine motor skills. And allowing your child to indulge in activities that advance their motor skills can help them gain strength and perform more complex activities in the long run.
Kinetic sand activities also offer an all-around sensory experience. The texture of kinetic sand and the hands-on experience of squishing, shaping, molding, and sculpting the sand can help improve your child’s tactile learning. The different colors of the sand can be a treat to their eyes. Moreover, the relaxing sounds it produces when it is crushed or cut are soothing to the ears. You can also add scented oils to this crafting sand. And guess what! One of the recipes in this list is even edible (But of course, we are not saying you can snack on regular Kinetic Sand).
 Point to consider
Types Of Sand Used To Make Kinetic Sand
Play sand or craft sand is the best type of sand that is used to make kinetic sand. These grains are usually more coarse than regular sand and do not contain finer grains.
Although tan sand by itself is perfect, you might want to use white craft sand if you want to make colored kinetic sand. Dyes stick better to white sand.
DIY Kinetic Sand Recipes That Actually Work
Here are some of the best and easy-to-make kinetic sand recipes.
1. The Basic Kinetic Sand
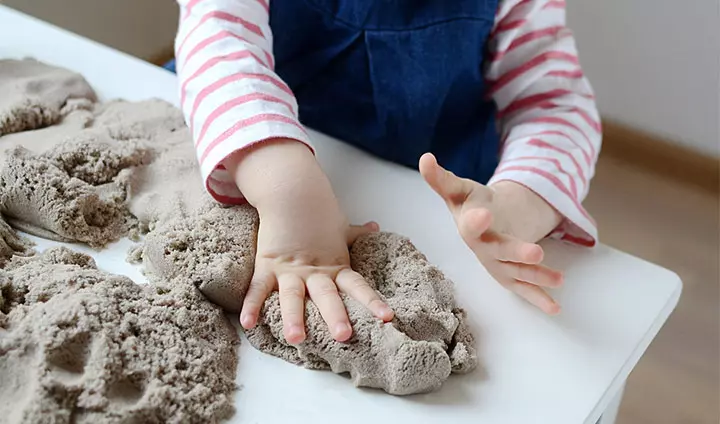
This is one of the most basic recipes for home-made kinetic sand using corn starch. Although this recipe is foolproof, we recommend you try out a small batch first and then go on to make larger ones.
What you need:
- A large mixing bowl
- 5 to 7 cups of play sand
- 1 to 1½ cups of corn starch
- A tablespoon of dish soap
- A cup of water
- A few drops of tea tree oil
Steps to follow:
- It is highly important that the sand is completely dry. So, make sure to leave it outside for a while before you start with the procedure. You could also bake the sand for a couple of hours at a low temperature, before drying it. This would make the sand coarse.
- Begin by mixing the dry play sand and the corn starch in the large bowl. Using your hands would be a better option.
- Mix a cup of water with a tablespoon of dish soap. Stir the mixture until it gets bubbly.
- Slowly pour the mixture to the sand while continuously stirring. Do not add all of the water and dish soap mixture in one go; add it gradually as required to maintain consistency.
- Add a few drops of the tea tree oil—it has antibacterial properties that prevent the sand and the corn starch from spoiling.
- You can always add some more water and dish soap to make the mixture more bubbly.
 Quick tip
2. DIY Colored Kinetic Sand

This recipe tells you how to color kinetic sand. So, save some of your food dyes. Your children will love this as their imagination is given free rein to create any kind of sandcastles. The bright color will attract children and keep them occupied with it for hours.
What you need:
- 3 to 5 cups of white craft sand
- 2 tablespoons of corn starch
- 2 tablespoons of dish soap
- A cup of water
- Your favorite food color!
Steps to follow:
- Make sure that the craft sand is completely dry. You can dry the kinetic sand for a few hours or bake it at 120° for a couple of hours. Baking the sand before drying it will add to the texture of your kinetic sand.
- Once all the moisture in the sand is gone, add the corn starch to the sand and mix them well. Make sure that there are no lumps.
- In a separate bowl, mix a tablespoon of dish soap and a cup of water and stir well. Keep stirring until you see bubbles. You can add a second spoon of dish soap if necessary.
- Now, for the colorful part! Add a few drops of the food coloring agent into the bubbling mixture and stir well.
- You can now add the colorful soapy solution to the corn starch and sand mix. Pour the solution carefully with one hand while continuously stirring the sand mix with the other.
3. Kinetic Sand With Liquid Starch

This recipe is simple, less messy, and much cheaper than the others. Although it may not be the perfect kinetic sand for your child, it is slimy—and kids love slime, don’t they? If it does not work, try grains of varied sizes. Keep in mind to add the liquid starch in small proportions and slowly.
What you need:
- A large mixing bowl
- 5 to 7 cups of play sand
- 100g of clear glue
- 1 cup of liquid starch
Steps to follow:
- To remove excess moisture from the sand, bake it in the oven for about two to three hours at 120°.
- Pour the glue and the liquid starch into a bowl and mix well.
- If the mixture is firm, add some more liquid starch, a few spoonfuls at a time, and continue to stir the mixture.
- On reaching the desired runny consistency, add the play sand into the glue and liquid starch mixture, a spoonful at a time, and continue to mix.
4. Moldable Play Sand
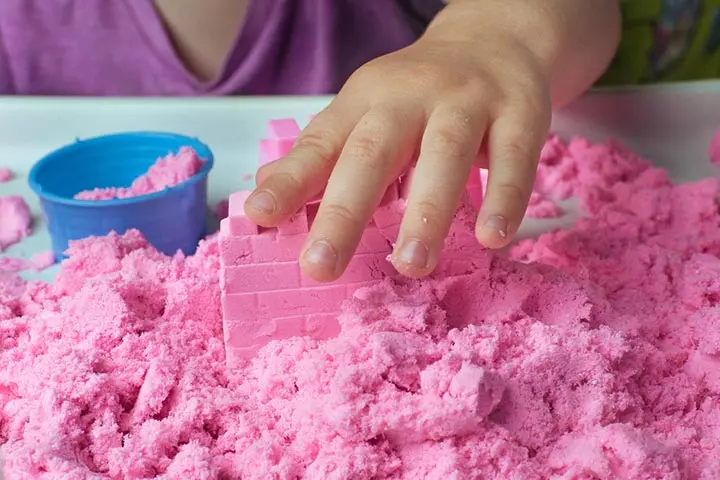
If you want to encourage exploration with this soft-textured, ductile sand, try this moldable kinetic sand recipe with flour. It feels wet when it really isn’t and can be easily molded. The play sand is free of chemicals and can be stored in any suitable container.
What you need:
- 5 cups of play sand
- 3 cups of all-purpose flour
- 1 cup of vegetable oil (coconut oil would work too)
Step to follow:
- Mix the play sand and the all-purpose flour in a container. Add a few tablespoons of the flour at a time, and make sure to break any lumps.
- After mixing well, add oil (about ½ a cup) into the mixture and knead.
- Keep adding oil until the desired consistency is attained.
5. Shaving Cream Sand Foam

This is the best kinetic sand for kids if you are looking to heighten their senses. The kinetic sand foam includes just two ingredients. It may not produce the softest sand but gives a great sensory experience. Your child will definitely love the foamy texture.
What you need:
- 3 cups of play sand
- 1 can of shaving cream, about 250g
Steps to follow:
- Squeeze out the shaving cream and add it to the sand in a medium-sized container.
- Using your hands is the best and most fun way to mix these two ingredients. You will notice that the sand absorbs the foaminess once you start kneading it.
- If the process gets too messy, you can try mixing the ingredients in parts.
- Go ahead and start molding the sand and building sandcastles, or add some more shaving cream and enjoy the foam a bit longer.
6. Edible Cornmeal Kinetic Sand
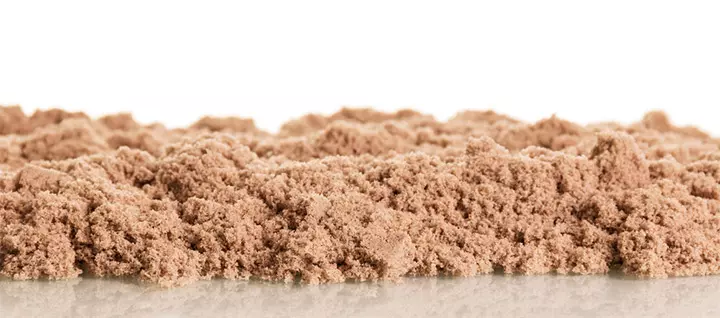
Does your child like playing with food and putting things in their mouth? Here’s your savior—an edible kinetic sand recipe without any sand! It is completely non-toxic and appears like beach sand.
What you need:
- ½ a cup of flour
- ½ a cup of cornmeal
- 1 tablespoon of corn syrup
- 1 tablespoon of oil, of any kind
Steps to follow:
- Whisk the flour and the cornmeal well in a container, making sure there are no lumps.
- Add the corn syrup and the oil, and whisk the mixture until it gets crumbly and sand-like.
- If you think that the mixture is too dry, add some more oil and whisk it to a perfect consistency.
7. Kinetic Sand With Baking Soda
Wondering how else to make kinetic sand without sand? Here’s one more recipe for you.
Note: It should be made under adult supervision.
What you need:
- 1 cup of baking powder
- 2 cups of baking soda
- 1 cup of dish washing liquid
Steps to follow:
- Mix the baking powder and the baking soda in a large bowl using a spoon or a spatula.
- Add the dishwashing liquid gently and slowly to the dry mixture while constantly stirring.
- Keep stirring until the base turns doughy or sandy.
- If the mixture remains moist, add some more baking powder.
- If your child wants the dough to be more fluffy, some more baking powder can be added.
8. Kinetic Sand With Hair Conditioner

No, we are not out of ideas for home-made kinetic sand just yet! If you are looking for an easy-to-make recipe, here’s one that needs just two ingredients, which you probably already have at home.
Note: It should be made under adult supervision.
What you need:
- 3 cups of baking soda
- ½ a cup of hair conditioner
- Coloring agent (optional)
Steps to follow:
- Add the hair conditioner and baking soda in a bowl and stir until the desired consistency is reached.
- You may add a coloring agent of your choice to the mixture.
- If the mixture is dry, add some more conditioner.
9. Kinetic Sand Slime

You’ve probably been waiting for this while wondering how to make slime with kinetic sand. This sand slime recipe is mesmerizing to watch and play with, especially when colored.
What you need:
- 1 cup of play sand or craft sand
- 1 cup of white school glue
- 1 cup of foamy shaving cream (about 170g)
- ½ a cup of liquid starch
- Food coloring (optional)
Steps to follow:
- Empty the cup of white school glue in a large bowl.
- Add the cup of foamy shaving cream to the glue and start whisking it with a spatula. This could get messy, so you could use a disposable wooden spatula if you would like to.
- Add some color to the slime. Just add in a few drops of your favorite food colors and whisk to spread it out evenly through the foamy slime.
- Now, add the sand, about half a cup at a time. If you want to increase the sandy texture of the slime, you could always add more at the end.
- Add the slime activator, which is ½ a cup of liquid starch, to the slime base.
- Whisk and stir to a perfect consistency.
10. Rainbow And Unicorn Kinetic Sand

Adding colors to kinetic sensory sand would all the more intrigue children and can be a great way to incorporate engineering and education into their playtime. Try making a batch of each of the bright rainbow colors — the more the merrier! You would soon have them knowing the primary colors and experimenting with the secondary colors.
What you need:
- Freshly prepared kinetic sand
- Different food colors
- Glitter and sprinkles
Steps to follow:
- Make kinetic sand using one of the above recipes.
- If your sand is not colored, go ahead and make small batches of different colors. You could use the colors of the rainbow. Add some of the colors and the binding agent that you had previously used into the sand.
- Glitters and sprinkles will cheer up a unicorn fan! After mixing your kinetic sand with colors like pretty pinks, blues, and purples, toss in some glitter of different sizes and shapes to bring the fairytale home.
How To Store Kinetic Sand?
To store kinetic sand effectively, choose the right containers that maintain its texture and playability.
- Airtight containers are highly recommended because they form a protective barrier against moisture and air to prevent the sand from drying out or hardening. Choose plastic containers with secure, tight-fitting lids to ensure a reliable seal, keeping your kinetic sand fresh and ready for play.
- Alternatively, sturdy ziplock bags offer a portable and space-saving option, allowing you to easily remove excess air before sealing. Ensure the bags have a quality seal to prevent leakage or contamination.
- For smaller quantities or short-term storage, wrap kinetic sand tightly in plastic wrap or aluminum foil. It is a cost-effective solution that preserves moisture and prevents debris.
- Clear plastic storage boxes with lids are also an excellent option. It creates a controlled environment to maintain the sand’s moisture and cleanliness, with the added benefit of easy visibility.
Frequently Asked Questions
1. Why can’t I just buy kinetic sand?
You can. However, note that it can be quite expensive and if you choose to make your kinetic sand instead, it serves as an additional activity that both you and your child can enjoy together.
2. Is Kinetic sand dangerous? And is it Edible?
DIY kinetic sand is not dangerous. And it is not edible either. Ensure you keep a watch on your kids while they play with sand.
3. Is kinetic sand messy?
Making kinetic sand at home can get a little messy at times. Be sure to use a large mixing container. You can also go out into your backyard while making and playing with the sand. Also, make sure to store the sand in air-tight containers after each session.
4. Does kinetic sand dry out?
No, kinetic sand does not dry out. If you feel it is losing moisture or its crunchy texture, add some binding agent or water to it.
5. Does color stick to kinetic sand? Will it stain?
Yes, it does stick to kinetic sand. You could use food-coloring agents of your choice to make colorful kinetic sand. The dyes could temporarily stain your child’s hand during the making process. You could opt for white sand as it is easier to dye compared to regular tan sand.
6. What other coloring agents can I use instead of food colors?
Watercolors, tempera paint powder, colored chalk, and alcohol-based ink are some good alternatives.
7. What is in kinetic sand to make it stick together?
Kinetic sand has a thin coating of polydimethylsiloxane(PDMS) nanomaterial, which is believed to make the sand grains stick together (1).
8. Can kinetic sand be reused after playtime?
Yes, kinetic sand is reusable. Store it in an airtight container to retain its texture and prevent drying, making it perfect for several creative play sessions.
9. What safety tips should I follow when playing with kinetic sand?
Always supervise children, especially younger ones, when creating and playing with kinetic sand. Use safe, non-toxic ingredients, and if a child has allergies, carefully check all ingredients before starting the activity.
Besides paddling through the pool or gardening, children love playing with sand, whether on the beach or in a sandbox. You could fill the sand into a large tray or a basin while playing. Pop some race cars and a Hot Wheels track in there, lend your child some safe cutting and molding tools, and watch them create building blocks, make geometric shapes, and build sandcastles.
Childhood feels incomplete if children do not indulge in any kind of STEM activities such as sand play. Playing with kinetic sand is not only one of the things to do when kids are bored but is also helpful in improving children’s sensory skills. While the sand’s various colors are pleasing to the eye, the squeezable texture aids in the development of children’s motor abilities. The sand can also help them to become more creative. Kinetic sands can be readily purchased from the market. However, making them yourself allows you to double-check the ingredients’ safety. These kinetic sand recipes for kids can be made with play sand and other ordinary household items. Homemade dishes have the advantage of being inexpensive and adaptable to your children’s preferences. You can also utilize this exercise as an opportunity to spend time with them.
Infographic: Maintaining Kinetic Sand
Old and wet kinetic sand might lose its adhesive properties. In such cases, cleaning up after children have played with kinetic sand could be difficult due to the lost tendency of the sand to stick to itself. Here is an infographic with a few tips for hassle-free cleaning and storage of kinetic sand. Illustration: Momjunction Design Team
Illustration: Easy DIY Kinetic Sand Recipes For Kids

Image: Dall·E/MomJunction Design Team
Make your own kinetic sand with this easy DIY recipe! Kids will love creating their own sand and playing with it. Perfect for a fun and creative activity!
References
- Exploring Products: Kinetic Sand;
https://www.nisenet.org/sites/default/files/catalog/uploads/ProductsKineticSand_guide_5nov14.pdf
Community Experiences
Join the conversation and become a part of our nurturing community! Share your stories, experiences, and insights to connect with fellow parents.
Read full bio of Alicia Spomer
Read full bio of Harshita Makvana
Read full bio of Deepa Thomas
Read full bio of Nisha Bharatan


